
Wall Mounting Brackets: Stick On vs Screw On
A surprising number of things arrive with no way to hang them. Wall clocks with a flat back, photo frames, small wooden boards, name plates, light panels, wifi routers, remote holders, a piece of art a child made. The wall is ready. The object is not.
A mounting bracket fixes that by giving the item a hanging point it never had. Crucially, the bracket attaches to the back of the item, and then the item hangs on a screw or nail already in the wall.
That is the part people get backwards. Neither of these brackets sticks to your wall. Both go on your object. So the question that decides which one you need is not what your wall is made of. It is whether you can put a screw into the thing you want to hang.
The decision, in one question
Can you drive a small screw into the back of this item without ruining it?
Yes, so use the screw-on bracket. A screw-on wall mounting bracket screws directly onto the back of almost any item, and that item then hangs on a wall screw or nail. It is a mechanical fixing, which means it is immediately at full strength, it is reversible, and it does not care about temperature, humidity or surface chemistry.
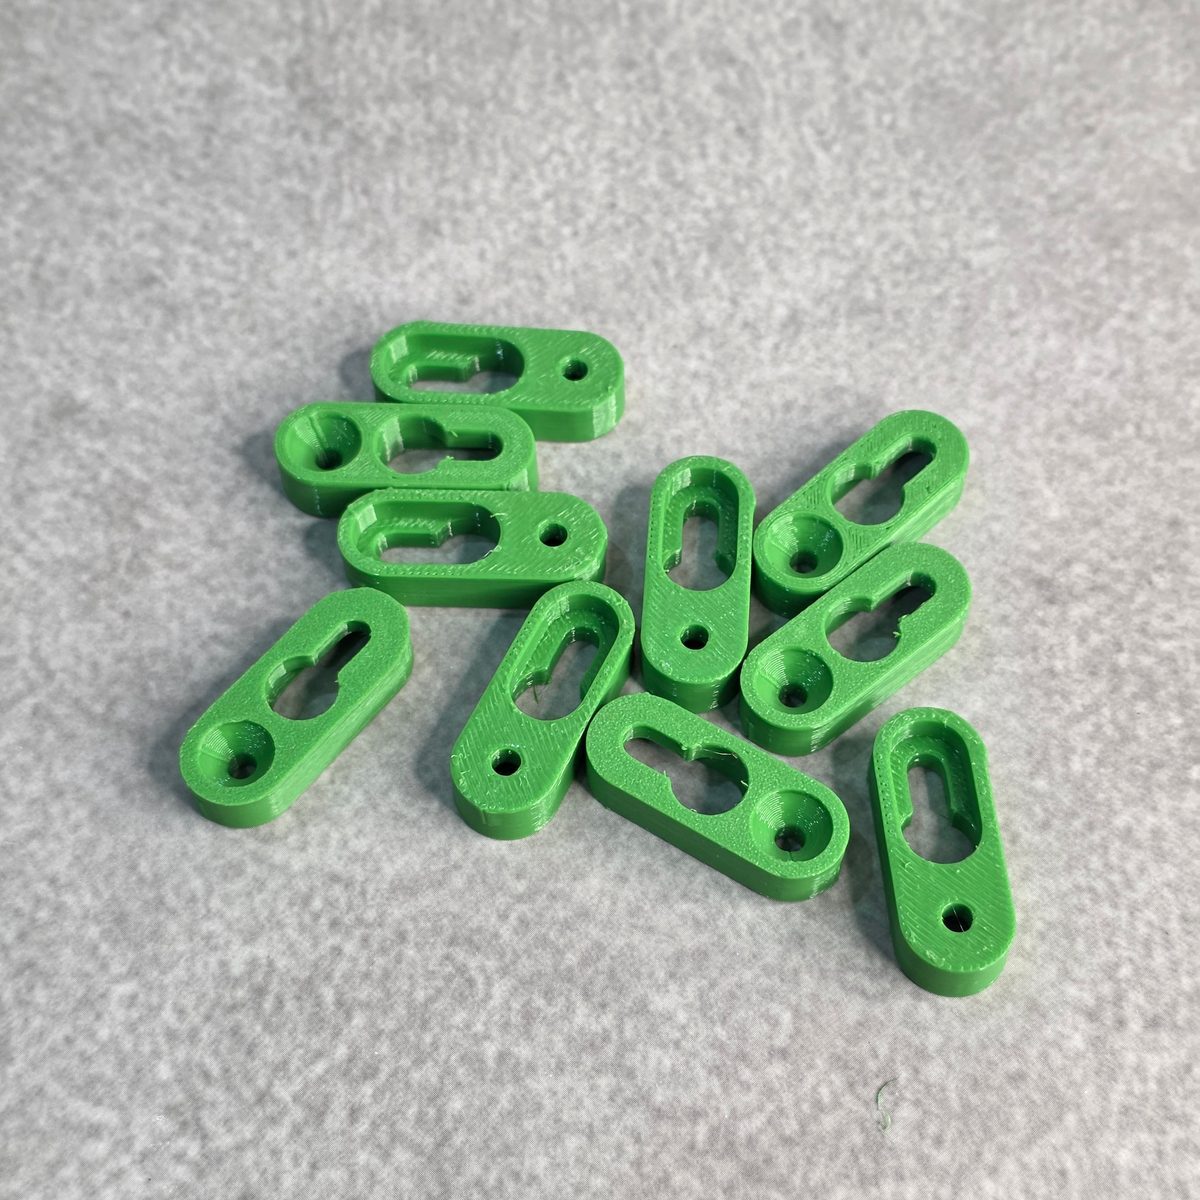
No, so use the stick-on version. The stickable wall mounting bracket has no screw hole at all. You glue its flat back onto the item, let it set, then hang the item as normal. It exists for the cases where drilling into the object is off the table: glass, tiles, glossy panels, smooth plastic, metal, or anything you do not want to put a hole in.
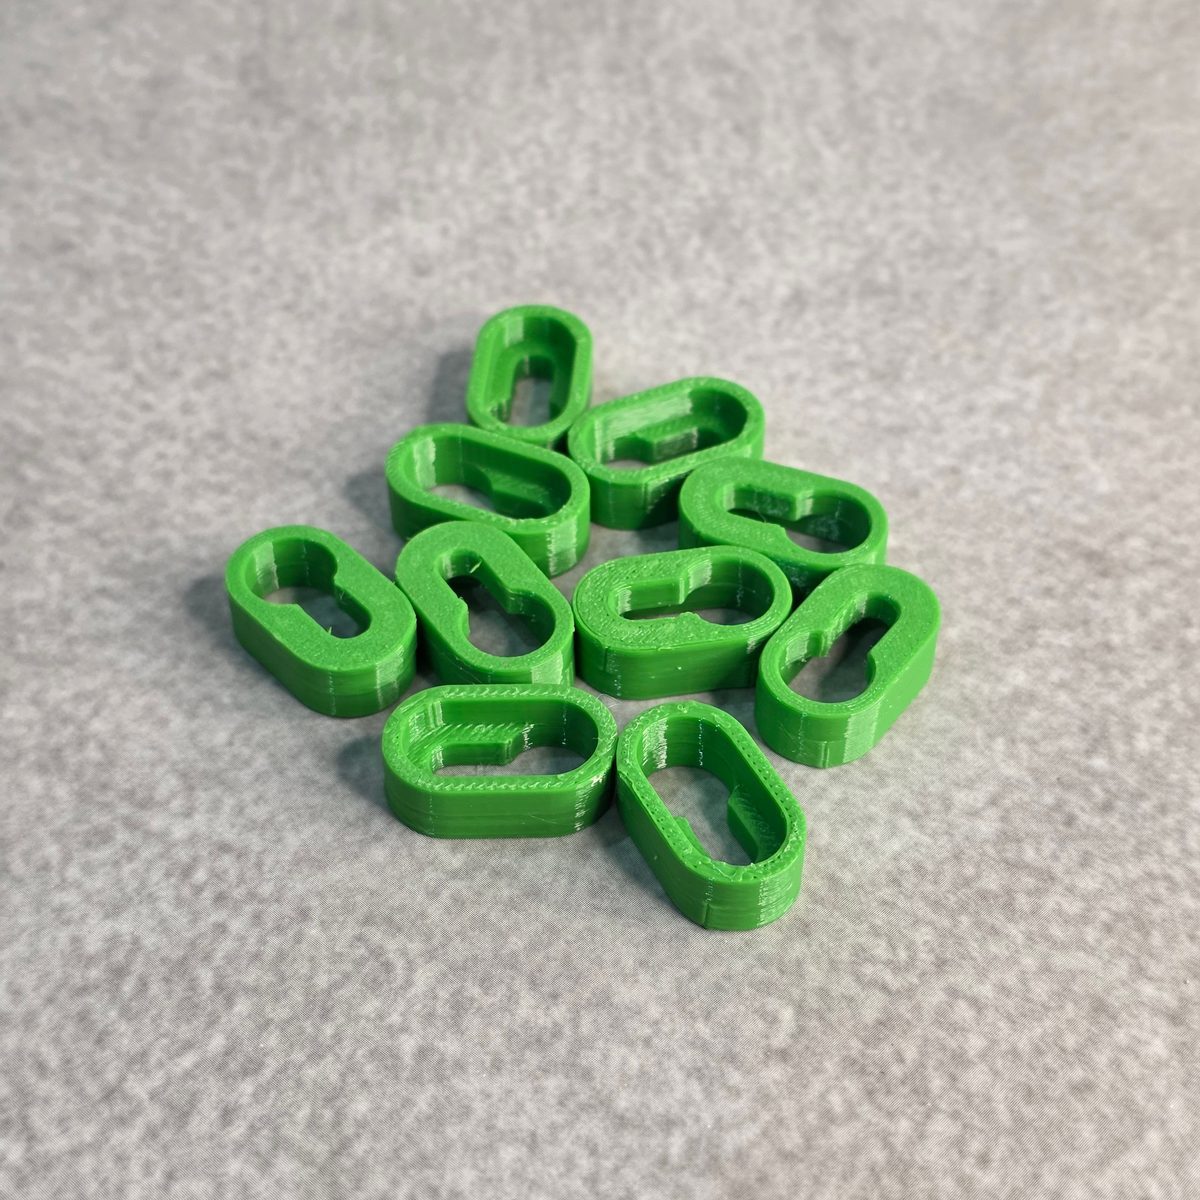
Both come in packs of ten, which is the right quantity for this, because once you have them you find things to use them on.
Sorting items by what their back is made of
- Solid wood, plywood, MDF: screw on. Wood takes a small screw happily.
- Thin hollow-back frames: screw on, but check the depth first. A screw that comes through the front is a bad afternoon.
- Glass and mirror: stick on, always. Drilling glass without the right equipment cracks it.
- Tile and stone: stick on.
- Metal sheet and enclosures: stick on, unless you have the tooling and are willing to expose bare metal to rust.
- Moulded plastic, routers and electronics housings: stick on. There is usually nothing solid behind the shell to screw into, and drilling an enclosure risks the electronics inside.
- Anything you may want to sell, gift or return: stick on, since it leaves the item unmarked.
Screw-on: the details that matter
- Measure the thickness of the item's back and pick a screw shorter than it.
- Pilot hole in hardwood to avoid splitting, which is what usually wrecks a wooden board.
- Position it above the centre of gravity, not at the top edge. More on this below.
- Two brackets for anything wide, spaced symmetrically, so the item cannot rotate.
Stick-on: the glue is the actual decision
With the stick-on bracket, the bracket is not what fails. The bond is. And the two adhesives commonly reached for in India behave very differently.
Fevikwik, made by Pidilite, is a cyanoacrylate, the chemistry sold everywhere as super glue. Araldite is a two-part epoxy, mixed from a resin and a hardener.
The comparison between the two chemistries maps directly onto this job:
- Cyanoacrylate cures in seconds from moisture in the air, and gives high initial strength.
- Cyanoacrylate is not intended for load-bearing applications, which is the relevant limitation, since a hanging item is a sustained load.
- Cyanoacrylate needs tight-fitting surfaces. It has almost no gap-filling ability, so a slightly curved or textured item back is a problem.
- Epoxy is the structural option, with higher long-term shear strength under load.
- Epoxy fills gaps and bonds uneven surfaces, which most item backs are.
- Epoxy handles mixed materials better, such as bonding plastic to metal.
- Epoxy resists heat and chemicals; cyanoacrylate can become brittle over time.
So for anything that will hang for years, the epoxy is the better choice, even though it means mixing and waiting. Save the instant glue for a light item with a genuinely flat back where speed matters more than shear strength.
Either way, prepare the surface. Clean both faces with isopropyl alcohol, scuff a glossy back lightly with fine sandpaper to give the adhesive something to key into, and let it cure fully before hanging anything. Curing time is not setting time, and epoxy in particular keeps gaining strength after it stops feeling tacky.
Where to put the bracket on the item
This is what separates something that hangs straight from something that tilts forward and annoys you every time you walk past.
The item hangs from a single point, so it will rotate until its centre of gravity sits directly below that point. Placement follows from that.
- Above the centre of gravity, as high up the back as practical. The higher the bracket relative to the centre of mass, the more stable the hang.
- On the horizontal centre line for a single bracket, or the item will hang crooked.
- Two brackets, level and evenly spaced, for anything wider than it is tall. Measure rather than eyeballing, because a few millimetres of difference is visible across a wide frame.
- Account for uneven weight. A clock with a heavy mechanism on one side has its centre of gravity off centre, so the bracket goes over the heavy part, not the middle of the outline.
- Check clearance. The bracket holds the item slightly off the wall, which is usually fine and occasionally matters.
What the wall still has to do
The bracket solves the item's side of the problem. The wall's side is unchanged: a screw or nail has to be in it, holding the weight.
On solid brick or concrete that means a plug and a masonry bit, and the result is a very strong fixing. That is worth remembering, because the stick-on bracket is sometimes bought in the hope of avoiding drilling the wall, which it does not do. It avoids drilling the item.
If you genuinely cannot make a hole in the wall either, that is a different problem, and the honest answers are the load-path ones: an existing nail, a picture rail, a grille, or a freestanding option.
Where these earn their place
Wall clocks, photo frames, name plates, small boards, light panels, routers, remote holders and craft pieces all share the same defect: they are designed to sit on a surface and someone decided to put them on a wall instead. A pack of brackets turns that from a project into a two minute job.
The brackets, pictured
They divide by what they hold and how they attach.
Stick-on mounting bracket. Pack of ten, adhesive, for mounting an object flat to a wall.
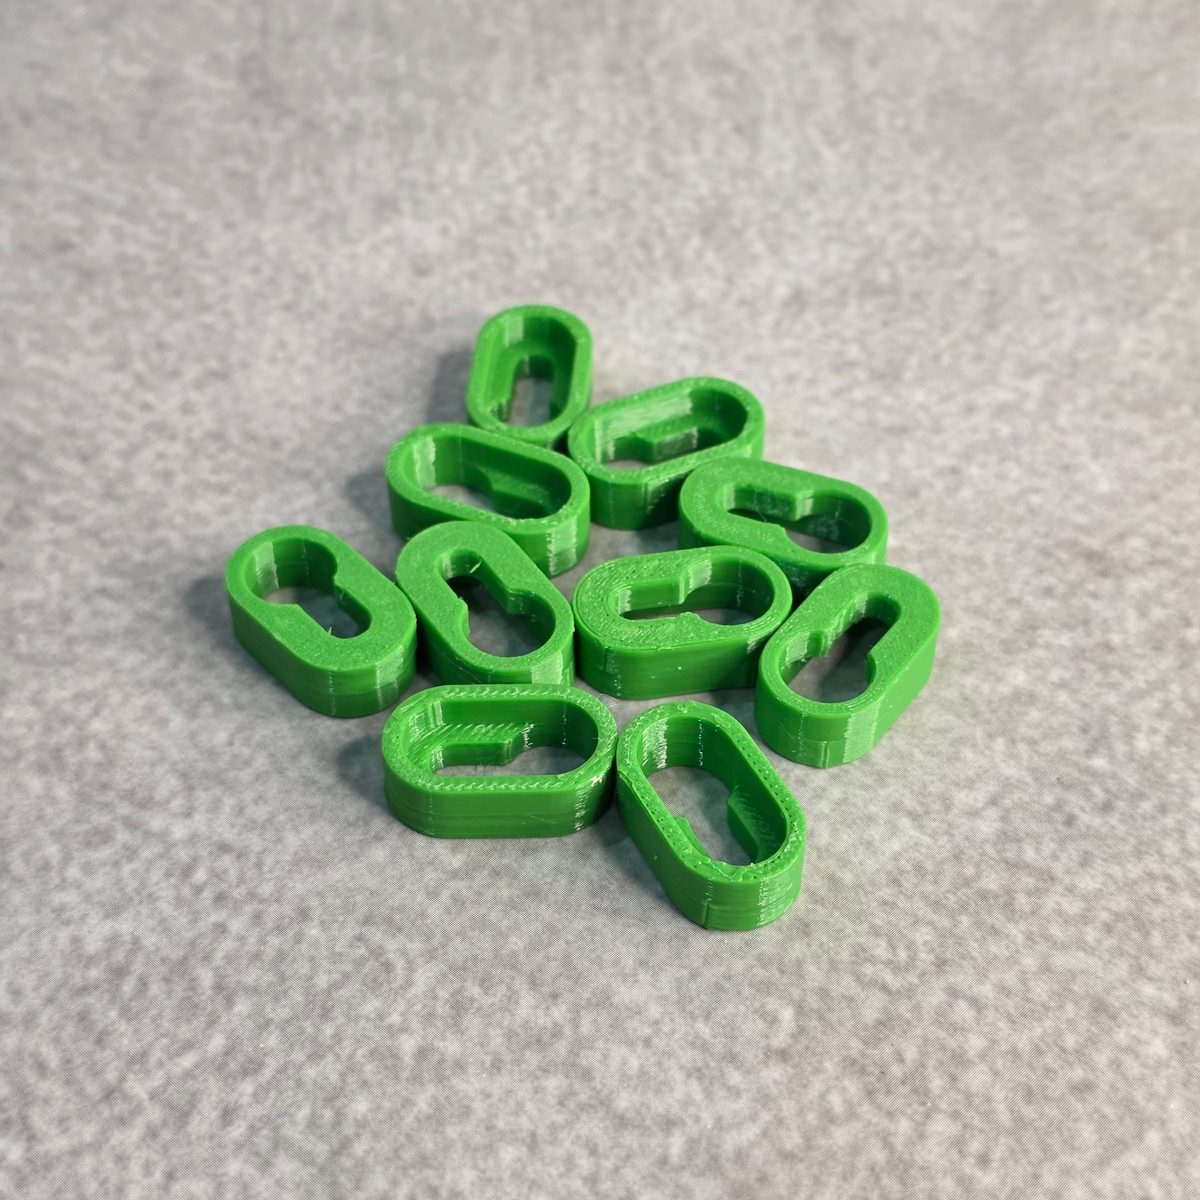
Screw-on mounting bracket. Pack of ten, the version for anything with weight.
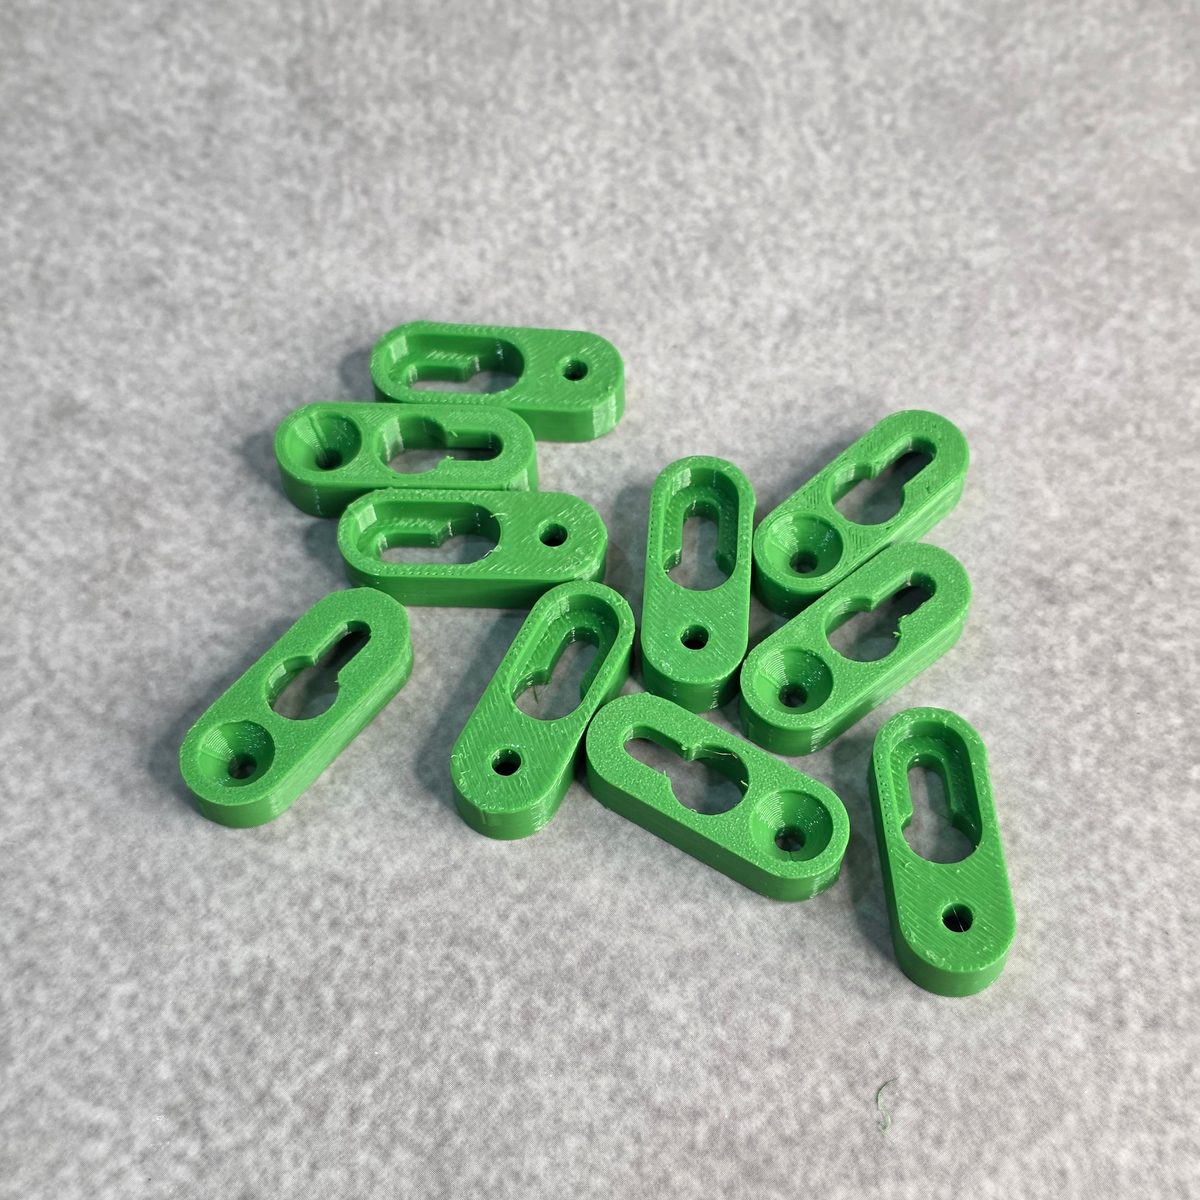
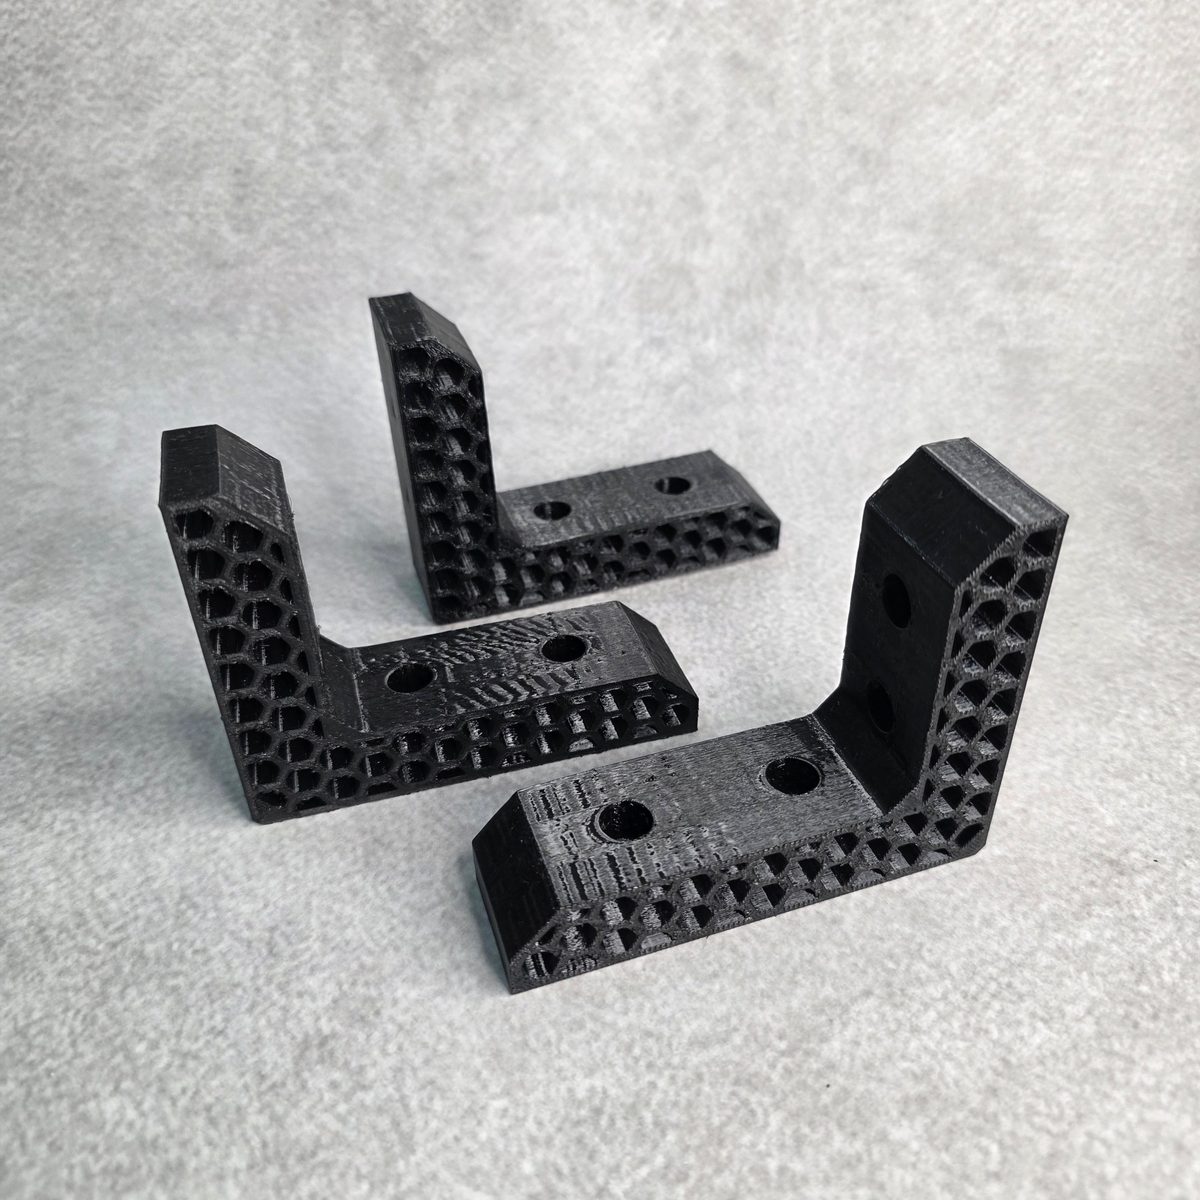
Honeycomb L shaped bracket. 80 x 100 mm, supports a shelf, table top or panel from below.
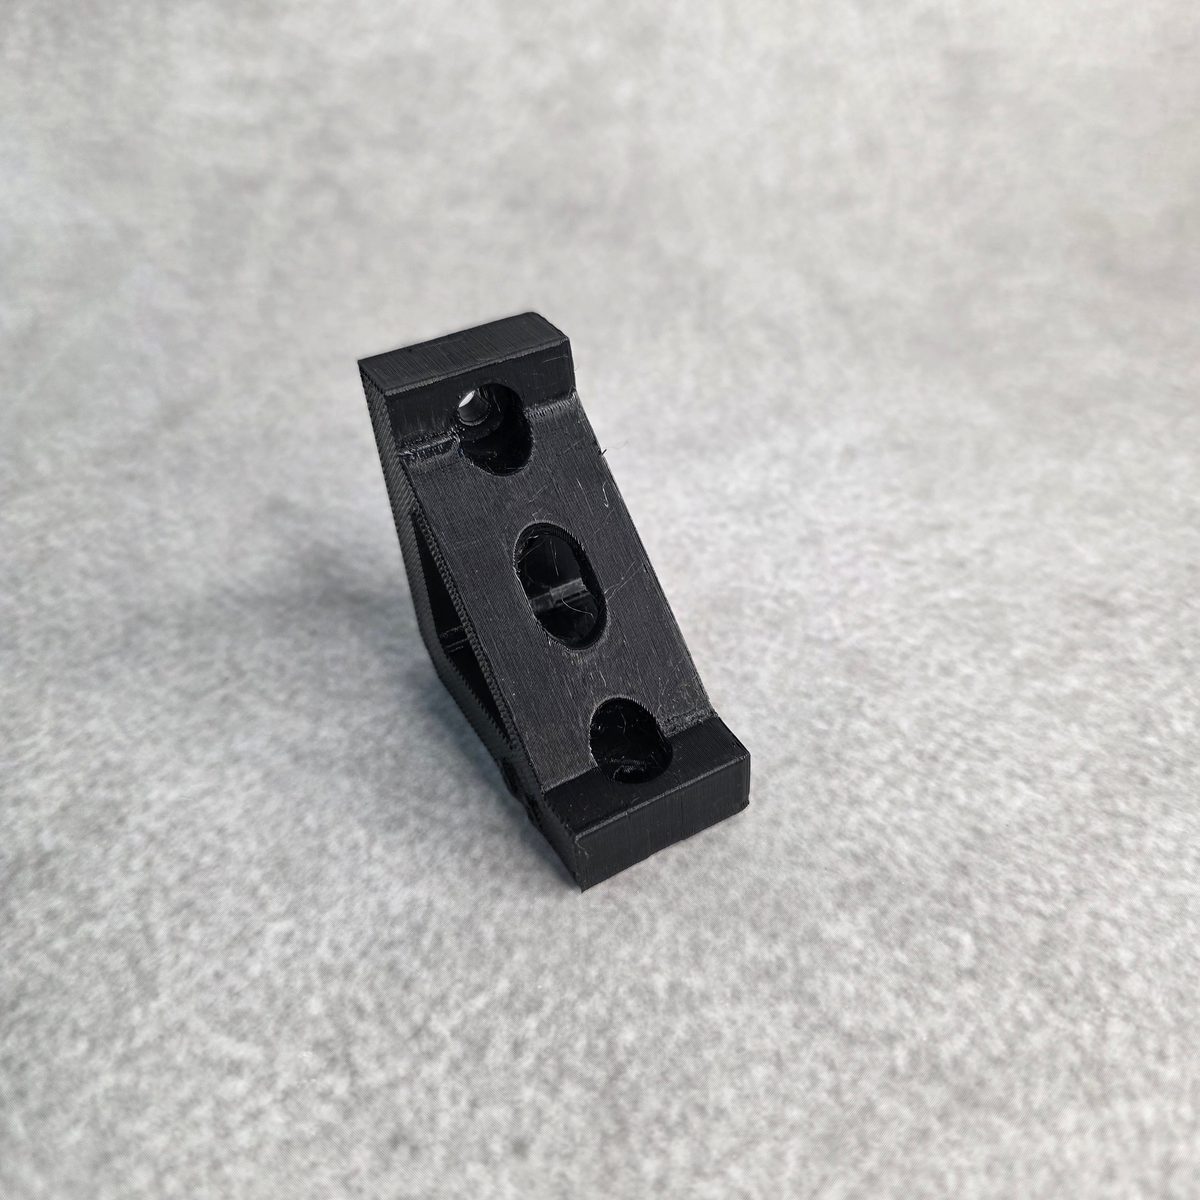
1 inch channel corner bracket. 50 x 50 mm, joins slim sections at right angles.
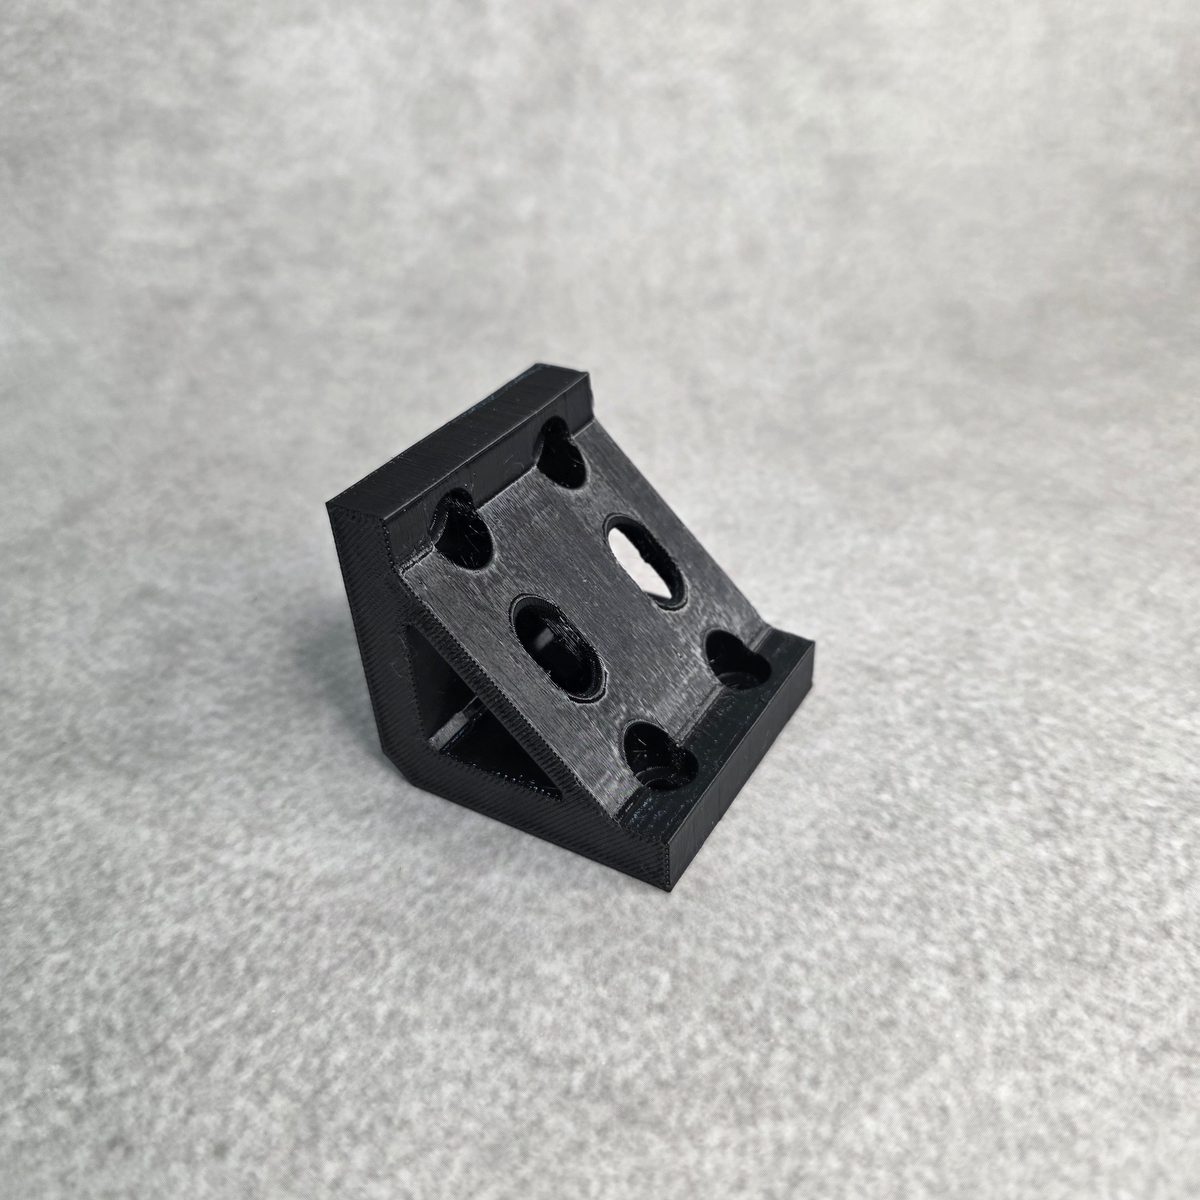
2 inch channel corner bracket. The heavier version, for section frames.
Where the thing wants hanging rather than fixing, the hook range covers it instead: set of four wall hooks, screw wall hooks, kitchen tile hooks, heavy duty U hook, under table hooks, side mounted hooks, twin arm hook.
If the item needs a bracket in a shape nothing standard fits, a particular offset from the wall, or a hanging point that clears a moulding or a cable, that is worth having made to the measurement through our 3D printing service page. The rest of the mounting hardware sits under hooks and hangers.
The short answer
Both brackets attach to your item, not your wall, and then the item hangs on a wall screw. Choose the screw-on one whenever you can put a screw into the back of the item, because a mechanical fixing beats a glued one every time.
Choose the stick-on one for glass, tile, metal, moulded plastic and anything you refuse to drill, and use two-part epoxy rather than instant glue, because the bond will be carrying a load for years and instant glue was never designed for that.