
How Strong Is a 3D Printed Hook? Orientation, Infill and Real Load Limits
People assume printed plastic is the weak option, and for a hook that assumption is wrong by a wide margin. The numbers from destructive testing are much higher than most expect.
What is true is that the same hook can be four or five times stronger or weaker depending on choices made before it printed, none of which are visible in the finished object.
The numbers from actual destructive testing
CNC Kitchen ran printed hooks against timber on a test rig and published the failure loads:
- PLA at 100 percent infill: failed at 131 kg.
- PETG at 100 percent infill: failed at 110 kg, and broke violently.
- PLA at 30 percent infill: 71 kg on average.
- PETG at 30 percent infill: 54 kg on average, yielding rather than snapping.
- Multiplex plywood, for comparison: 83 kg.
- Particle board: 11 kg.
A fully dense PLA hook outperformed plywood by a comfortable margin. That is the headline, and it is worth sitting with before reading the rest, because everything below is about why you should not expect those numbers from an arbitrary printed hook.
Note also the difference in how they failed. PLA held more load but broke suddenly. PETG yielded, meaning it deformed and gave warning before letting go. For something above head height, the material that bends before failing has a real advantage over the one that holds more and then snaps.
Orientation is the single biggest factor
A printed part is not equally strong in every direction. Layers bond to each other less well than the plastic bonds to itself within a layer, so a part pulled across its layer lines fails far earlier than the same part pulled along them.
The scale of the difference is larger than most people expect. Tensile samples printed flat averaged 63 MPa, while identical samples printed standing failed at 31 MPa, roughly half.
CNC Kitchen's layer height study found the same thing on hooks specifically: every standing hook failed at least 50 percent below the equivalent lying one, and the standing parts snapped cleanly between layers.
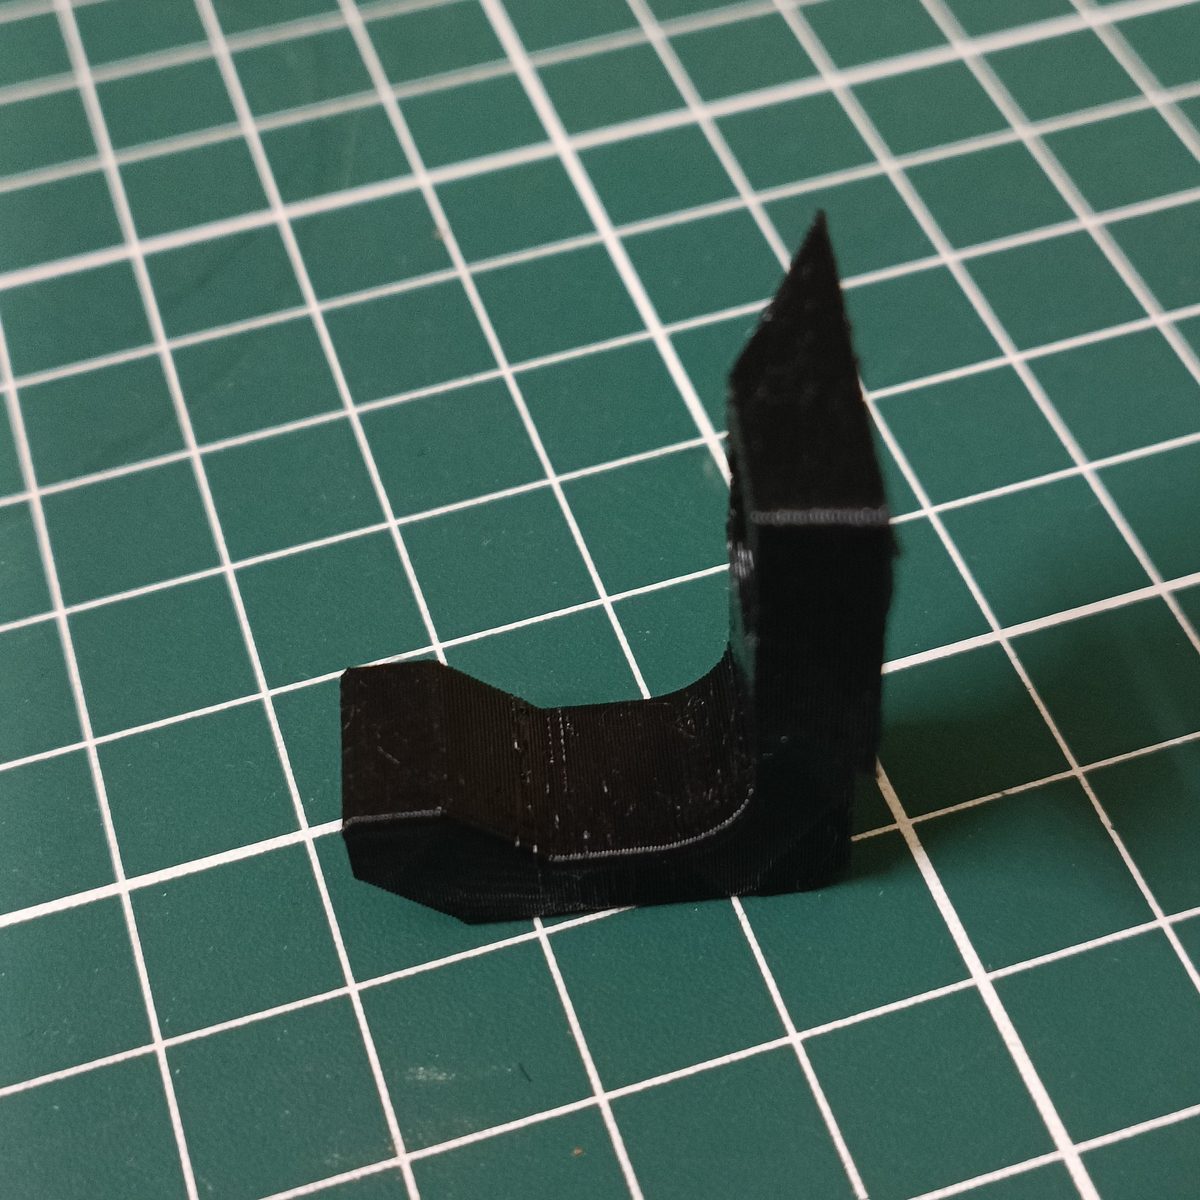
For a hook this is the whole game. A hook lying flat on the build plate, with its layers running along the direction of pull, is strong. The same hook printed standing up, which is often the faster and easier way to print it, has a stack of layer joints running straight across the load path.
Layer height, and a rule worth remembering
Thinner layers do not automatically mean stronger parts, which surprises people.
- Lying hooks at 0.05 to 0.2 mm: all failed around 80 kg, with no meaningful gain from going thinner.
- At 0.3 mm: noticeably earlier failure.
- At 0.4 mm: far worse.
- Standing hooks: 0.15 mm strongest, 0.3 mm holding only half, 0.4 mm close to nothing.
The generalisation from that testing is the ratio of nozzle diameter to layer height. Past a ratio of two, meaning layers thicker than half the nozzle diameter, strength starts to suffer. With a standard 0.4 mm nozzle, stay at or below 0.2 mm.
Going below 0.15 mm buys print time and nothing else.
Walls matter more than infill
This is the most useful counterintuitive finding, and it is the opposite of what most people do when they want a stronger part.
The outer shells of a printed part carry bending load, because they are the material furthest from the neutral axis. Analysis of shells against infill found that increasing wall count from two to three often yields a larger stiffness gain than doubling infill from 20 to 40 percent, while adding very little weight. Going from two to four walls adds roughly 20 percent print time and can prevent layer-split failures.
Meanwhile 100 percent infill raises part mass by around 50 percent compared with 20 percent infill, for a benefit that only materialises in genuinely load-bearing parts.
Practical guidance that follows:
- Shell thickness of 0.8 to 1.2 mm, meaning two to four perimeters on a 0.4 mm nozzle.
- Gyroid or triangular infill for more uniform behaviour in all directions.
- Around 40 to 50 percent infill as a baseline for a hook expected to carry up to 5 kg.
- Chamfers and fillets at internal corners, since sharp internal angles concentrate stress and are where parts crack first.
The failure that testing does not capture
Every number above comes from loading a part until it breaks, over a short period. That is not how a wall hook fails in a house.
Real hooks fail by creep: slow, permanent deformation under a load that is nowhere near the breaking point, accumulating over weeks. A hook holding a bag does not snap at 71 kg. It gradually droops under 3 kg, opens up, and one day the strap slides off the end.
Creep accelerates with temperature, which connects this to everything else about these materials. A hook in a warm room under constant load is in the worst case: below its breaking strength, above the temperature where the polymer slowly gives way.
This is why a sensible rated load is a small fraction of a tested failure load, and why that gap is not manufacturers being timid.
What this means when you are buying rather than printing
None of these variables are visible in a finished hook. You cannot see infill, you usually cannot tell the print orientation, and wall count is invisible.
So the useful signal is a stated load rating, because it implies someone chose the orientation, walls and material to meet it. A hook sold with a specific figure, like a screw wall hook rated to 5 kg or a heavy duty U shaped hook rated to 15 kg, tells you more than any material name.
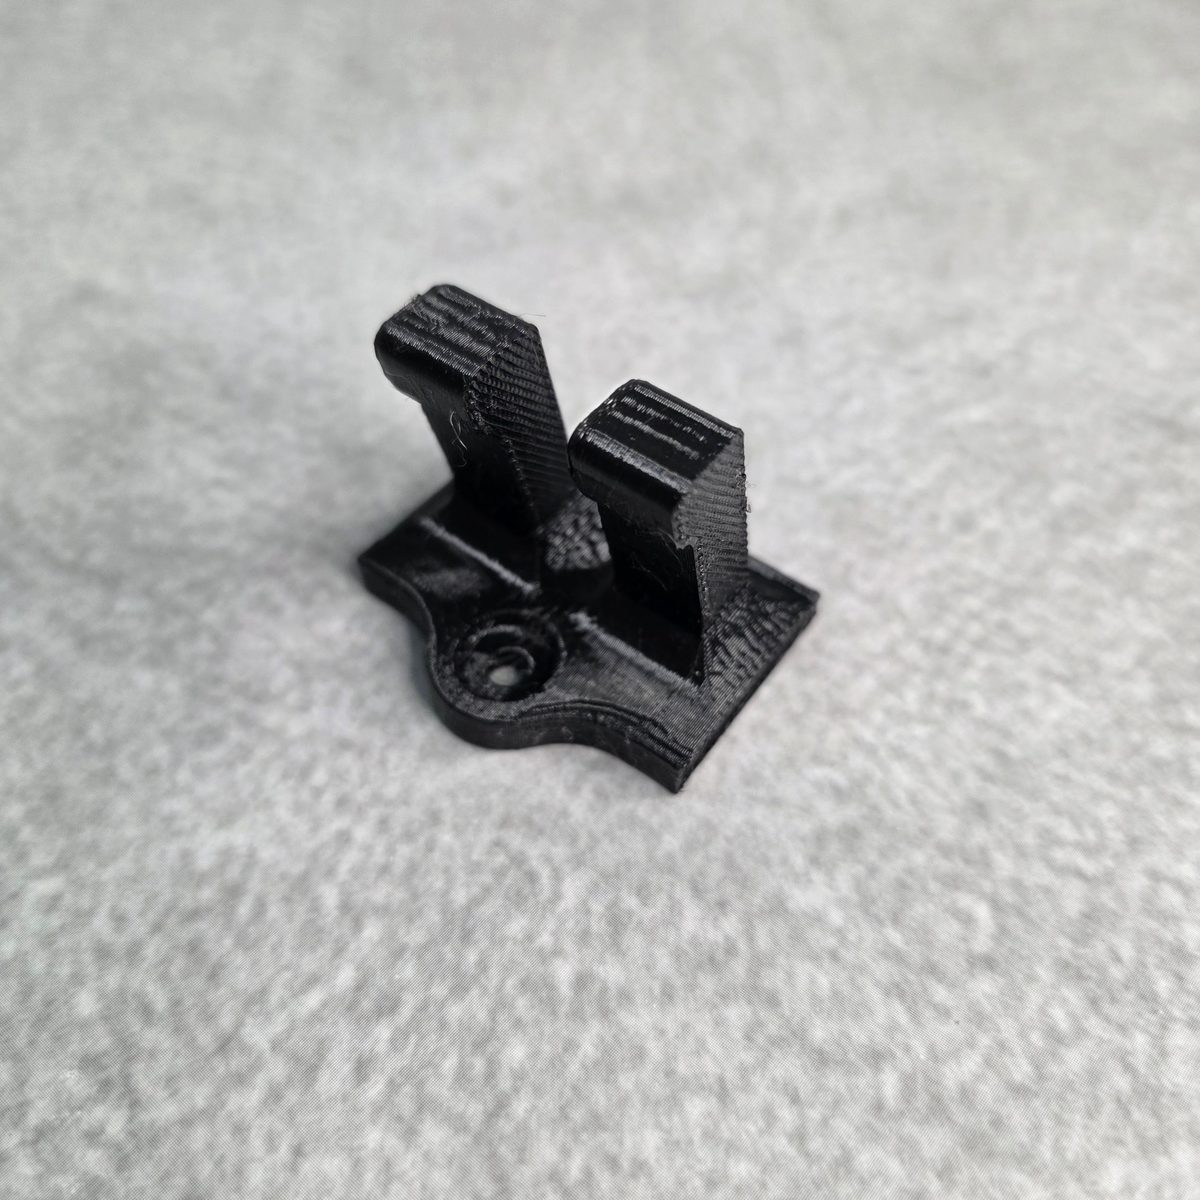
Geometry is a signal too. A twin arm hook holds an item across two arms with a 10 mm gap between them, so the load is carried at two points instead of one and whatever is hanging sits square rather than swinging. Spreading load is a structural decision, not a styling one, and the same logic applies to using several side mounted hooks rather than overloading one.
Why the mounting usually fails first anyway
Worth keeping in proportion. A printed hook can be stronger than the plywood it might be screwed to, and vastly stronger than the adhesive holding it to a painted wall.
Adhesive on paint tops out around 1.5 kg. The hook itself, printed sensibly, is nowhere near its limit at that load. So in the overwhelming majority of real installations, the hook is not the weak link. The wall is, or the tape is, or the screw is.
Every hook, pictured
They differ in how they attach and how much they are meant to take, which is the only sorting that matters.
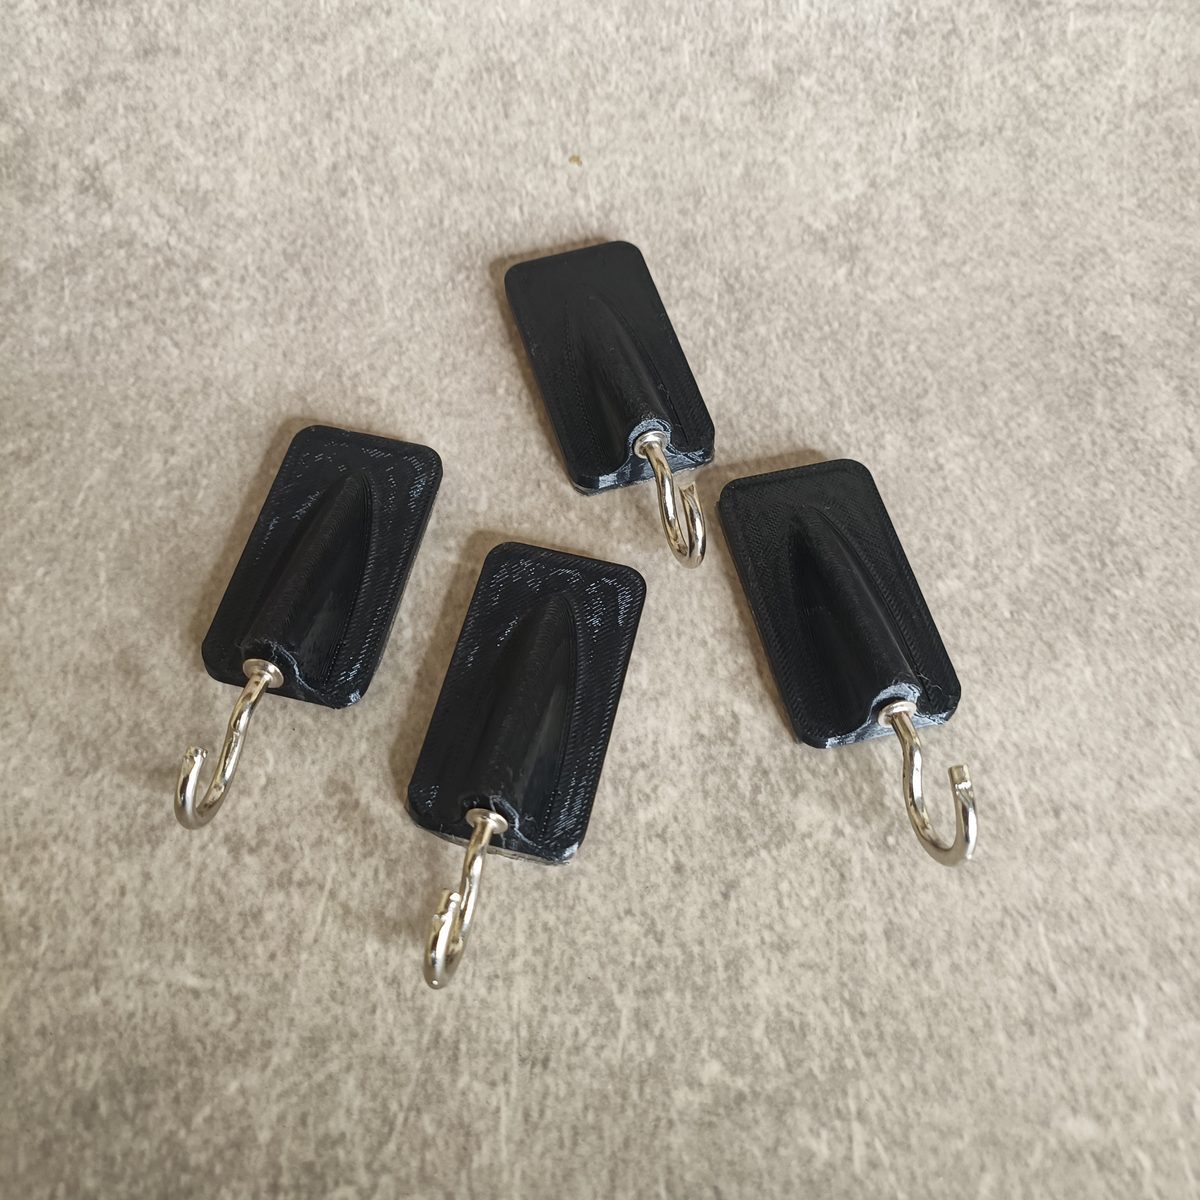
Set of four wall hooks. Adhesive, light duty, the general purpose choice.
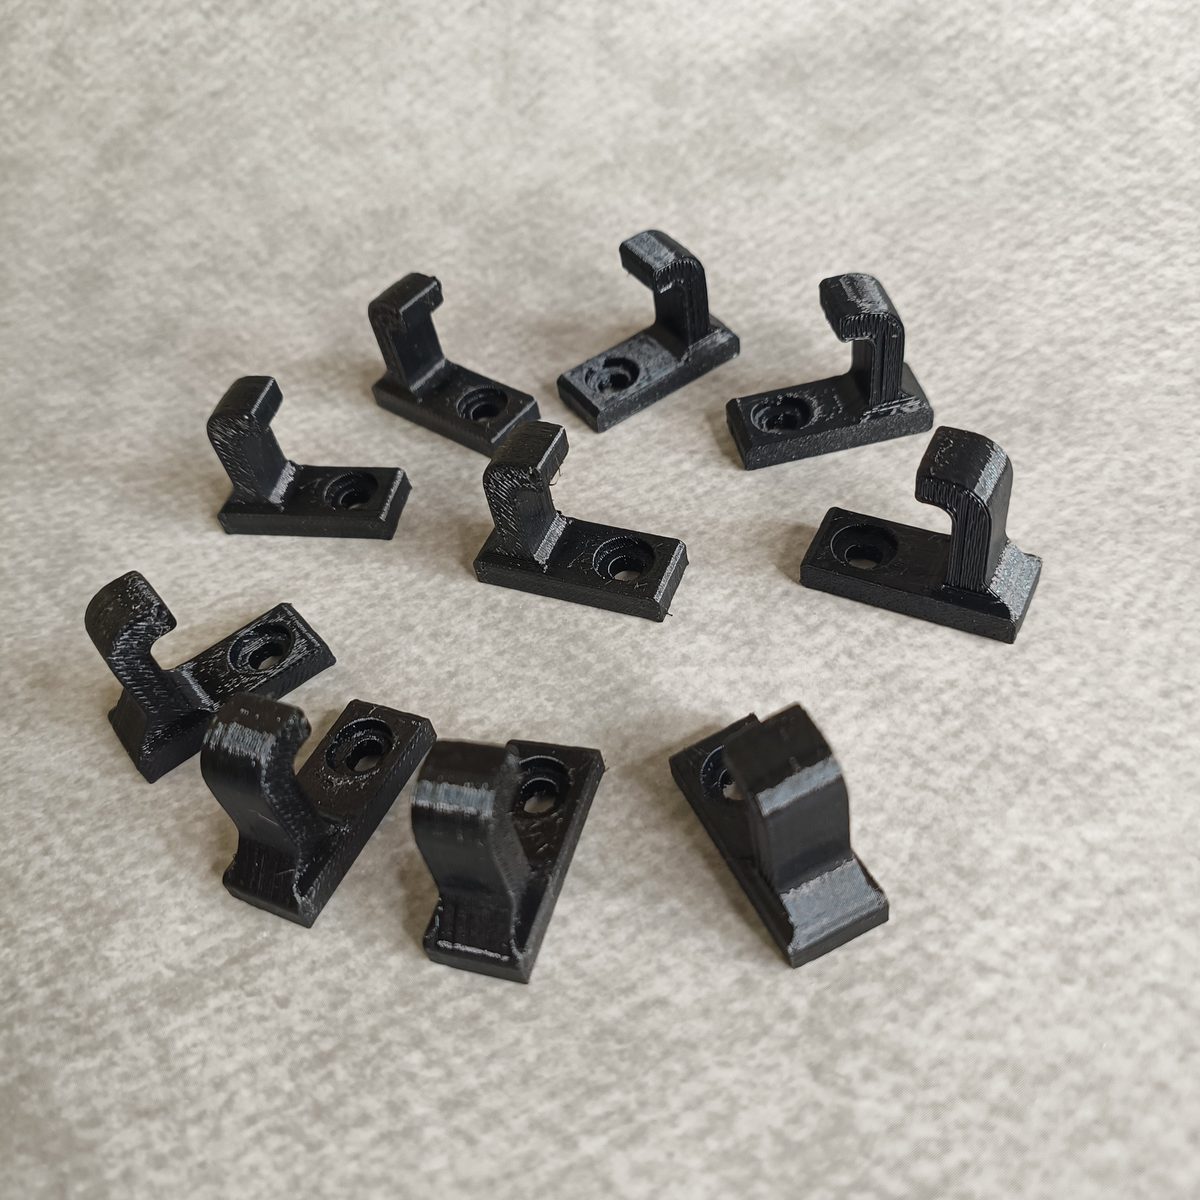
Screw wall hooks, pack of ten. Screwed rather than stuck, which is what anything with real weight needs.
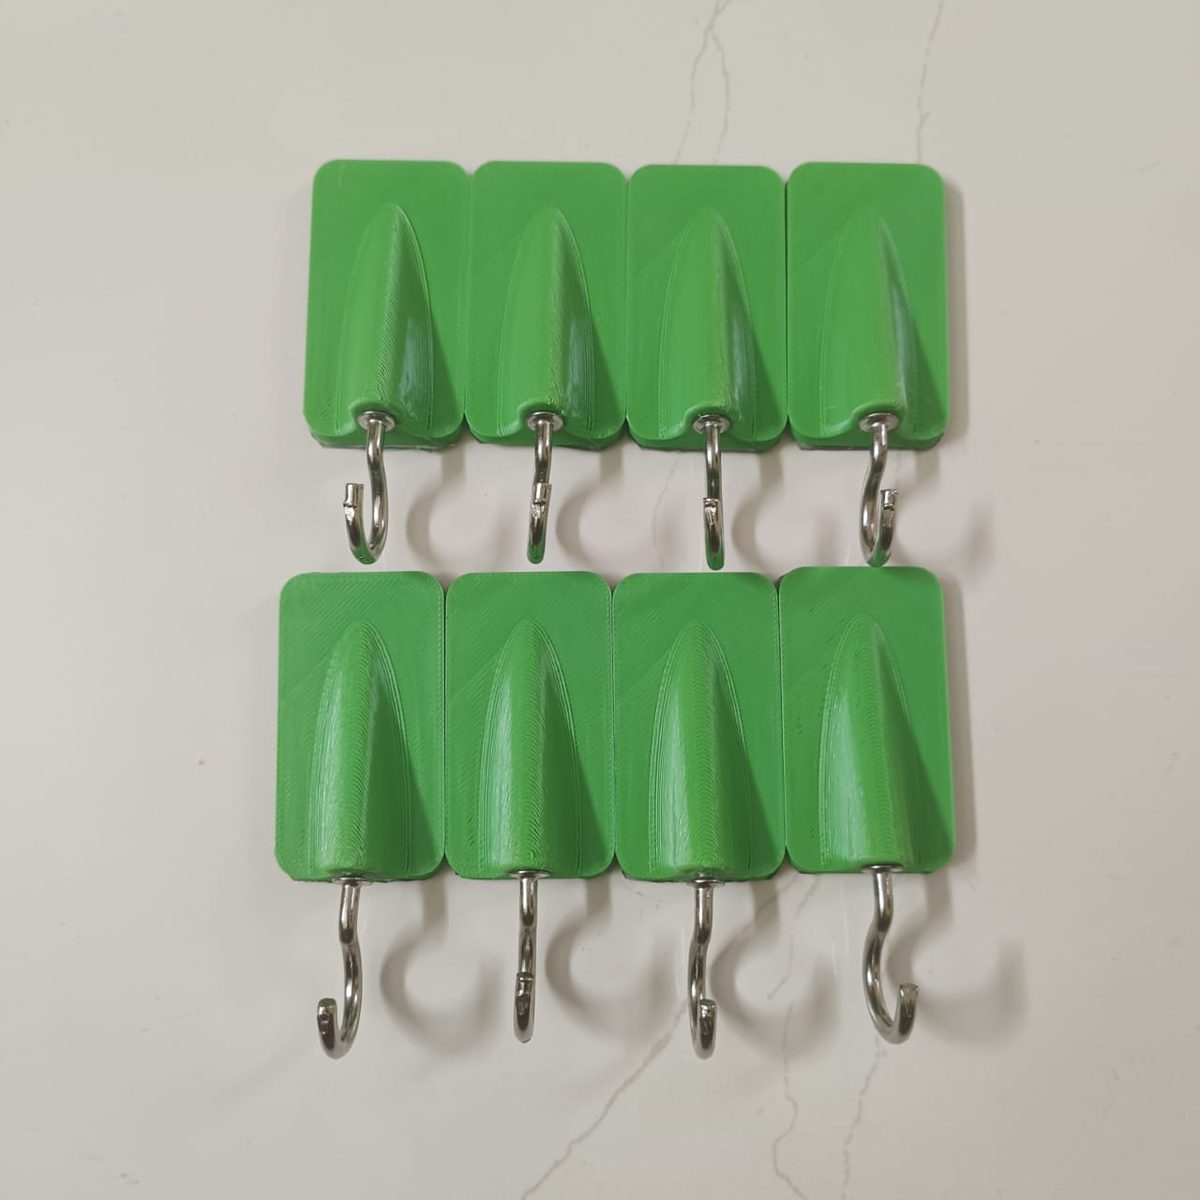
Kitchen tile hooks, pack of eight. Made for tiled walls, which is exactly where you least want to drill.
Heavy duty U shaped hook. The highest rated in the range, and the U shape means the load sits in the curve rather than on a prong tip.
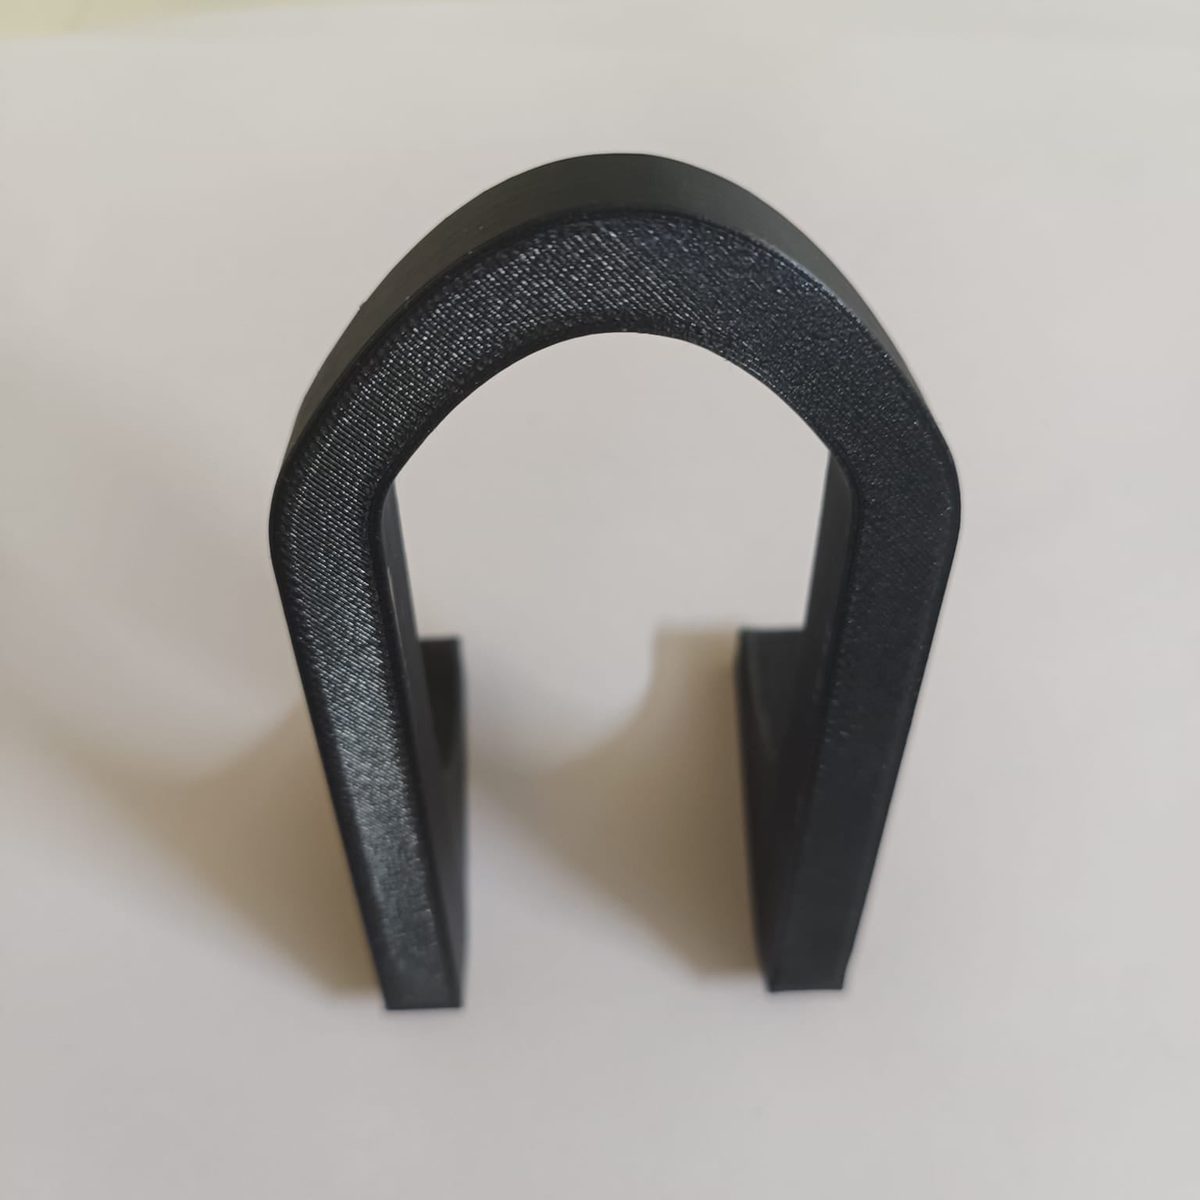
Under table hooks, set of five. Uses the dead space beneath a surface, rated to 1.5 kg each.
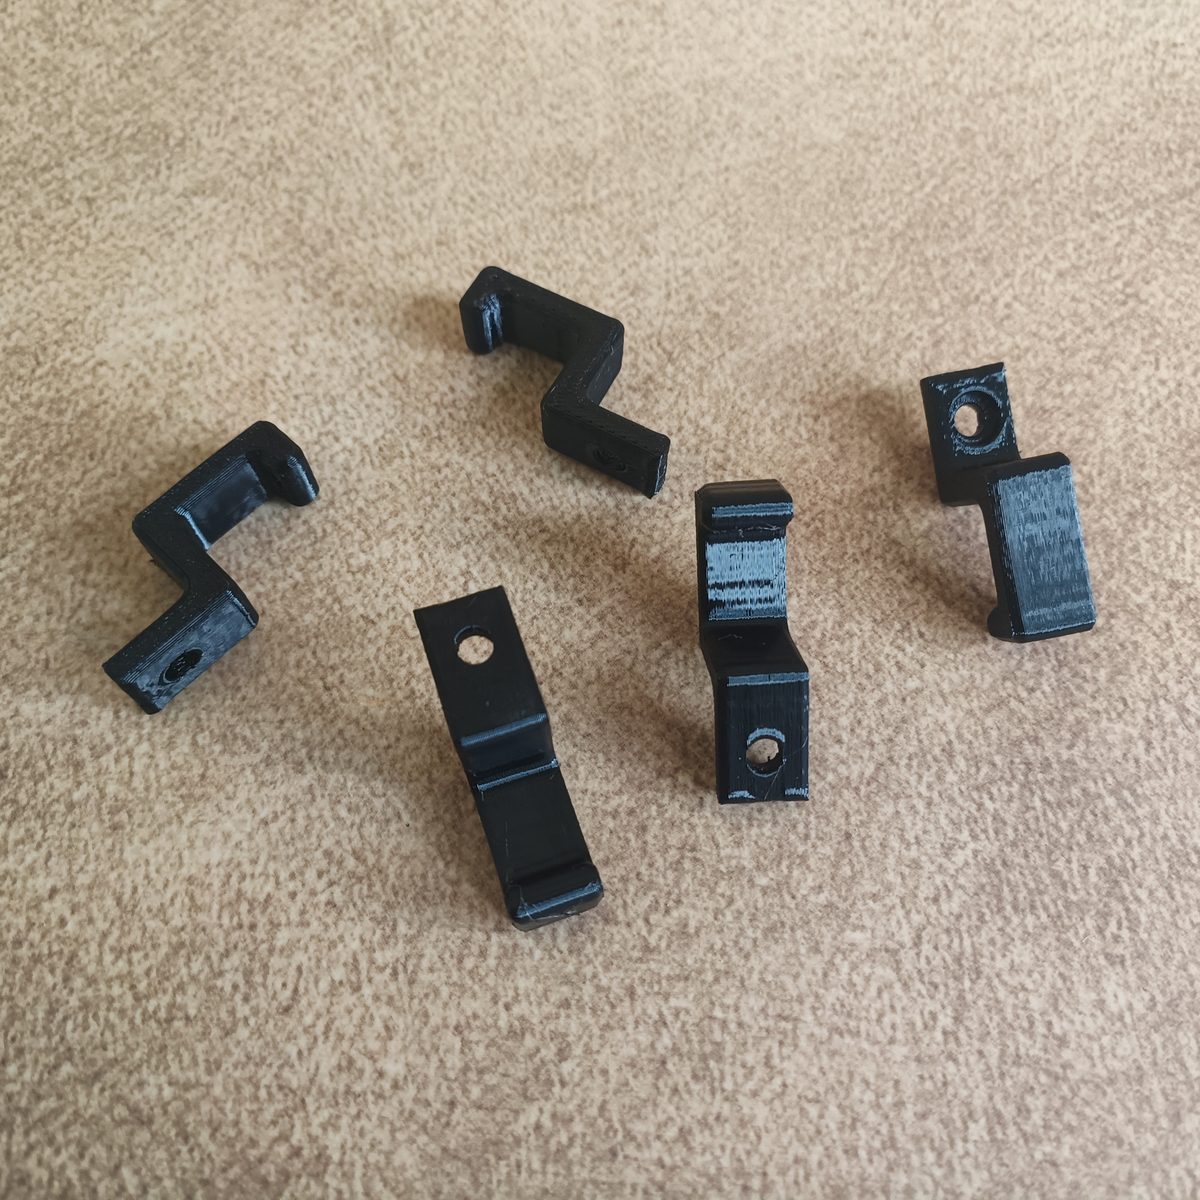
Side mounted hooks, pack of ten. For a vertical edge rather than a flat face.
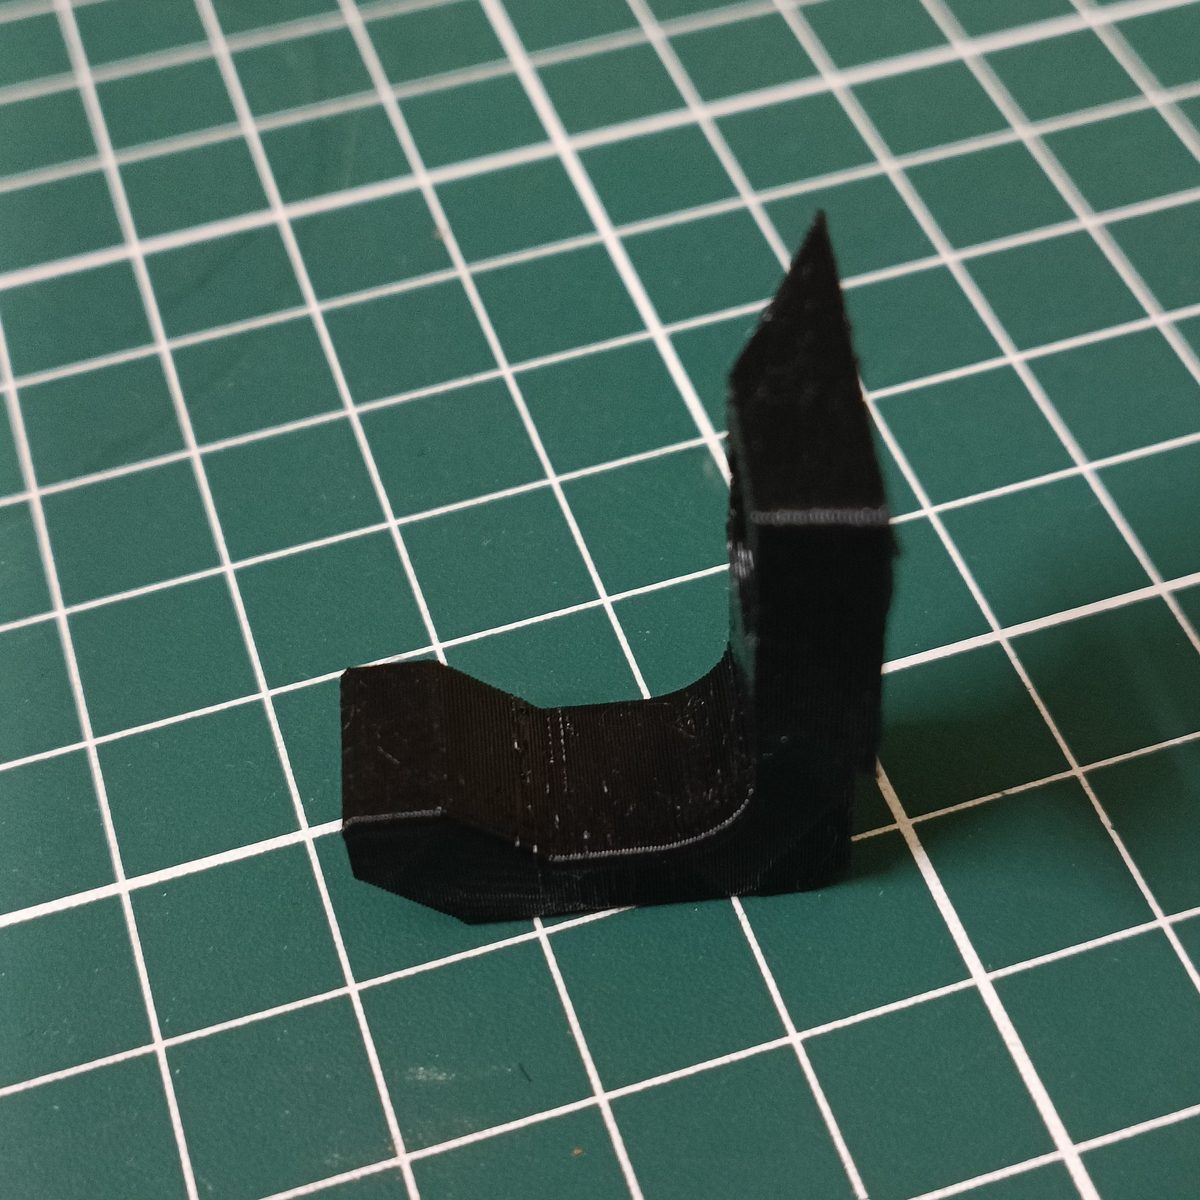
Twin arm wall hook. Two prongs upswept at 15 degrees, so a strap or ring cannot slide off.
Where a hook is not the right answer at all, the stick-on mounting brackets and screw-on mounting brackets mount an object flat against the wall instead of hanging it off a prong.
If you need a hook in a shape or a load class that nothing off the shelf covers, the orientation and wall settings are exactly the kind of thing worth specifying rather than leaving to a default. Describe the load and how it will be mounted along with the design through our 3D printing service page. The standard range sits under hooks and hangers.
The short answer
Printed hooks are strong. A dense PLA one has been tested to 131 kg, beating plywood.
But print it standing instead of lying and you lose more than half of that. Use thick layers and you lose more again. And in a real house none of those numbers apply anyway, because the hook will creep under a few kilograms long before it approaches breaking, and the wall it is stuck to will give up before either.
Buy on the rated load, spread weight across more than one hook, and treat the material name as the least interesting part of the specification.