
Are 3D Printed Vases Waterproof? Watertight Printing and Sealing Explained
Not by default. A 3D printed object is built by stacking extruded lines of plastic on top of each other, and every boundary between two of those lines is a potential path for water. The plastic itself is not porous. The construction is.
The useful part is that leaks are not random. They happen in predictable places, and both the printing fix and the sealing fix target those places specifically.
Where a printed vessel actually leaks
There are three leak points, and they are not equally likely.
The Z-seam. This is the big one. On an ordinary print, each layer's outer loop has to start somewhere and finish somewhere. At the start the extruder is still building pressure, and at the end the leftover pressure leaves a small blob. Stack hundreds of those start and stop points and you get a vertical line of weakness running the full height of the object. SpoolHound calls it the number one leak point, and describes it as almost always where water gets through first.
The base to wall transition. The bottom of a vase prints as solid layers, then the walls begin. That changeover is a common weak spot and is worth noting because water sits on the base constantly.
Between wall loops. On a multi-wall print, adjacent perimeters can fail to fuse completely, particularly if the plastic was running slightly cool.
Path one: vase mode, which removes the seam entirely
Vase mode, also called spiralise outer contour, prints the wall as one continuous rising spiral rather than as separate stacked loops. The extruder never stops, so there is no start and stop point, and therefore no Z-seam at all.
That is why vase mode is the standard approach for anything meant to hold water. SpoolHound notes that most vase-mode PETG prints hold water with no coating whatsoever.
The settings that make it reliable, per Emrld Labs:
- Line wider than the nozzle. A 0.4 mm nozzle laying a 0.5 to 0.6 mm line gives a thicker, better bonded wall.
- Hotter. Run 5 to 10 C above the normal profile for that filament, because the entire part is one weld between adjacent loops.
- Slower. Each loop needs time to bond to the one beneath it.
- Lower layer height, with 0.15 mm cited as the sweet spot.
- A solid base. Five or more bottom layers with slightly over-extruded flow, around 105 percent.
The limitations are real. Vase mode only works for single-wall, open-topped shapes. It cannot do lids, flat tops, steep overhangs or mechanical features, and the wall is only one nozzle width thick, so it is fragile. A 0.6 or 0.8 mm nozzle produces a noticeably sturdier result.
Path two: thick multi-wall printing
For anything vase mode cannot produce, the approach is bulk rather than elegance. JLC3DP recommends:
- Wall thickness of 1.2 to 1.6 mm minimum.
- Three to five perimeter shells.
- 100 percent infill for anything holding pressure.
- Layer height of 0.1 to 0.2 mm for better bonding between layers.
Snapmaker adds a point worth understanding: a larger nozzle means a thicker line, which means fewer layers to reach the same height, which means fewer seams to leak through. Bigger nozzles help for exactly this reason.
Material matters more here than usual
Watertightness is really a question of how well one layer welds to the next, and materials differ.
- PETG is the usual recommendation, with better inter-layer adhesion than PLA and more forgiving flow. It is the default choice for vase mode.
- PLA works but is more brittle at thin wall thicknesses and less forgiving.
- TPU, the flexible material, produces vase-mode prints described as naturally watertight.
- ABS can be sealed by acetone vapour smoothing, which chemically fuses the outer surface into a continuous skin.
Sealing, ranked by how much trouble it is
If the print already exists, or tuning has got you to a vase that weeps in one spot, sealing is the pragmatic answer. Emrld Labs puts it plainly: knowing when you have crossed from one more settings tweak into just seal it is the actual skill, and it is usually the second time the same spot leaks.
Superglue on the seam. The most targeted fix. Thin cyanoacrylate run down an aligned Z-seam is pulled into the micro-gaps by capillary action and sets in about a minute. Minimal effort when the leak is one line.
Clear acrylic varnish. Prusa calls this the simplest user-friendly method for a waterproof vase: spray inside and out a few times and let it dry. Available at any hardware shop. Prusa explicitly does not recommend it for anything food related.
Epoxy resin. The thorough option, filling every pore, and one of the few routes to a genuinely food-safe printed vessel. It is also messy work with fumes, requiring gloves and respiratory protection at minimum, and curing can take several days.
Silicone or flexible coatings. Useful as an internal lining rather than a finish.
Prusa's own conclusion is worth repeating: post-processing is not automatically the easy path, and it is generally better to design the model and set up the print so it is watertight from the start.
How to actually test it
Do not trust a quick rinse. The standard tests:
- Fill it and leave it overnight, standing on a dry paper towel so any seepage shows as a damp patch.
- Use dyed water or food colouring to make micro-leaks visible.
- Check the outer surface for dampness rather than waiting for a puddle. Most failures weep rather than pour.
A vase that passes 24 hours dry is genuinely watertight. One that shows a faint ring after a few hours needs a coat on the inside.
The shortcut most people should take
There is a third option that skips the entire problem, and for a decorative vase it is often the right one: use a liner.
A glass or plastic container that fits inside the printed vase holds the water, and the printed piece holds the container. Nothing seeps because nothing wet touches the print. A narrow test tube or a small jar works for single stems, and this is how many decorative vases in shops are used anyway.
It also sidesteps a problem nobody mentions: water sitting against plastic for weeks encourages growth in the layer grooves that you cannot scrub out. A liner you can wash properly avoids that entirely.
What this means if you are buying rather than printing
Printed decorative vases are generally designed as display pieces. The sensible assumption is that a vase is for dry arrangements, or for fresh stems in a liner, unless it is specifically described as watertight.
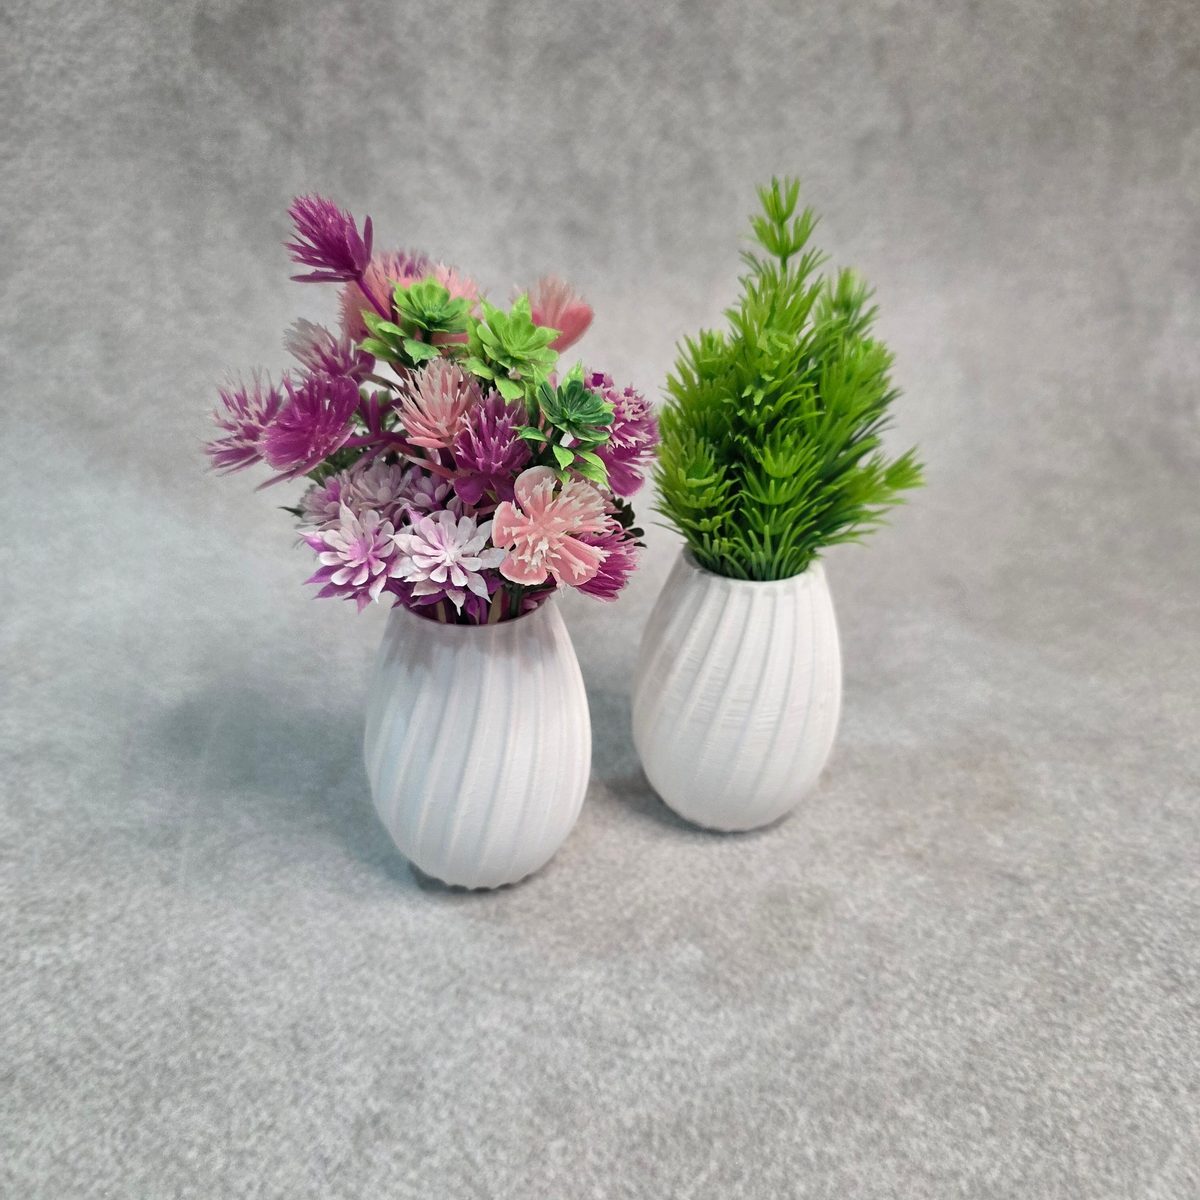
That is not a limitation so much as a different use case. Dried flowers, pampas grass, preserved stems and single artificial stems all suit printed vases perfectly, and they are what most of these shapes are styled with anyway. A tall ribbed vase works as a floor or shelf piece with dried stems, and a small grooved vase holds a single stem on a desk with a test tube inside it if you want it fresh.
One more practical note: keep printed vases out of prolonged direct sunlight, which ages the material regardless of what is inside it.
The full range, pictured
Ordered by height, which is the dimension that decides both the stem length and where it can sit.
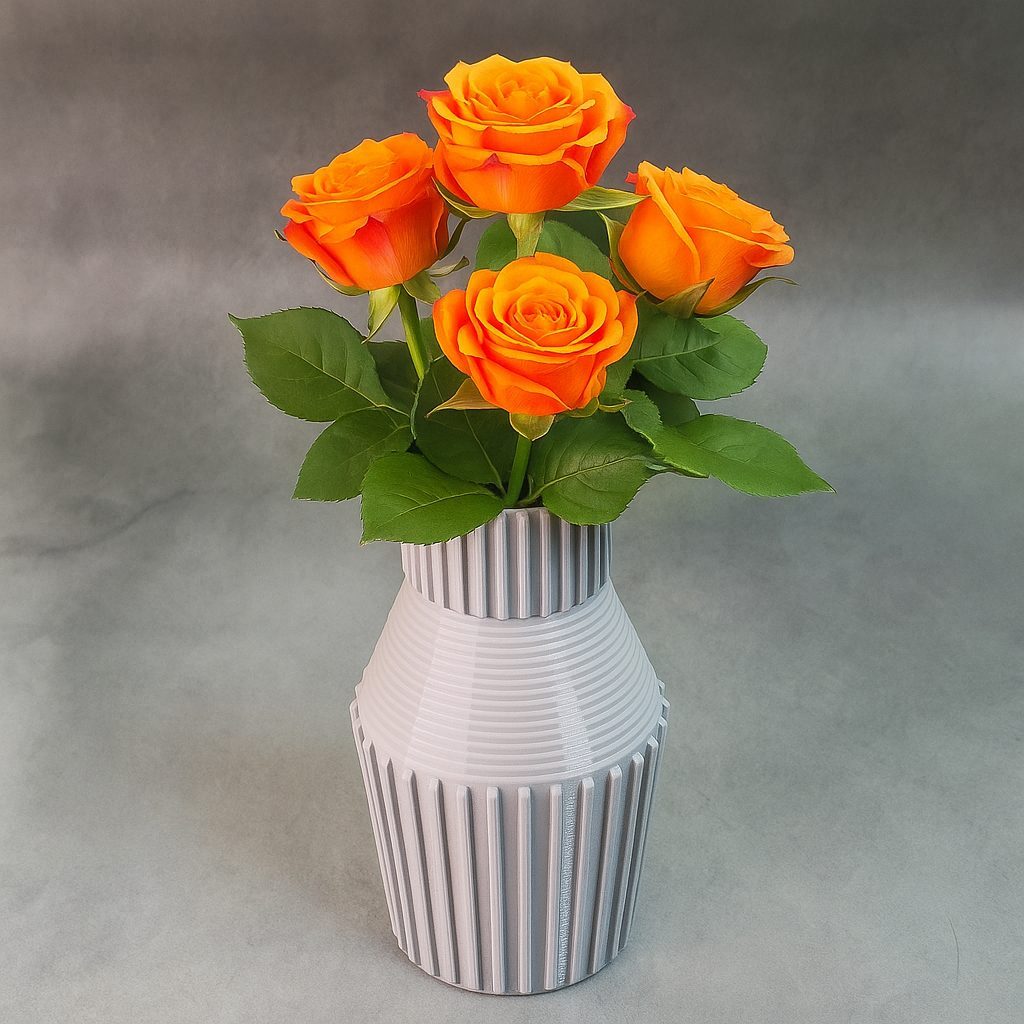
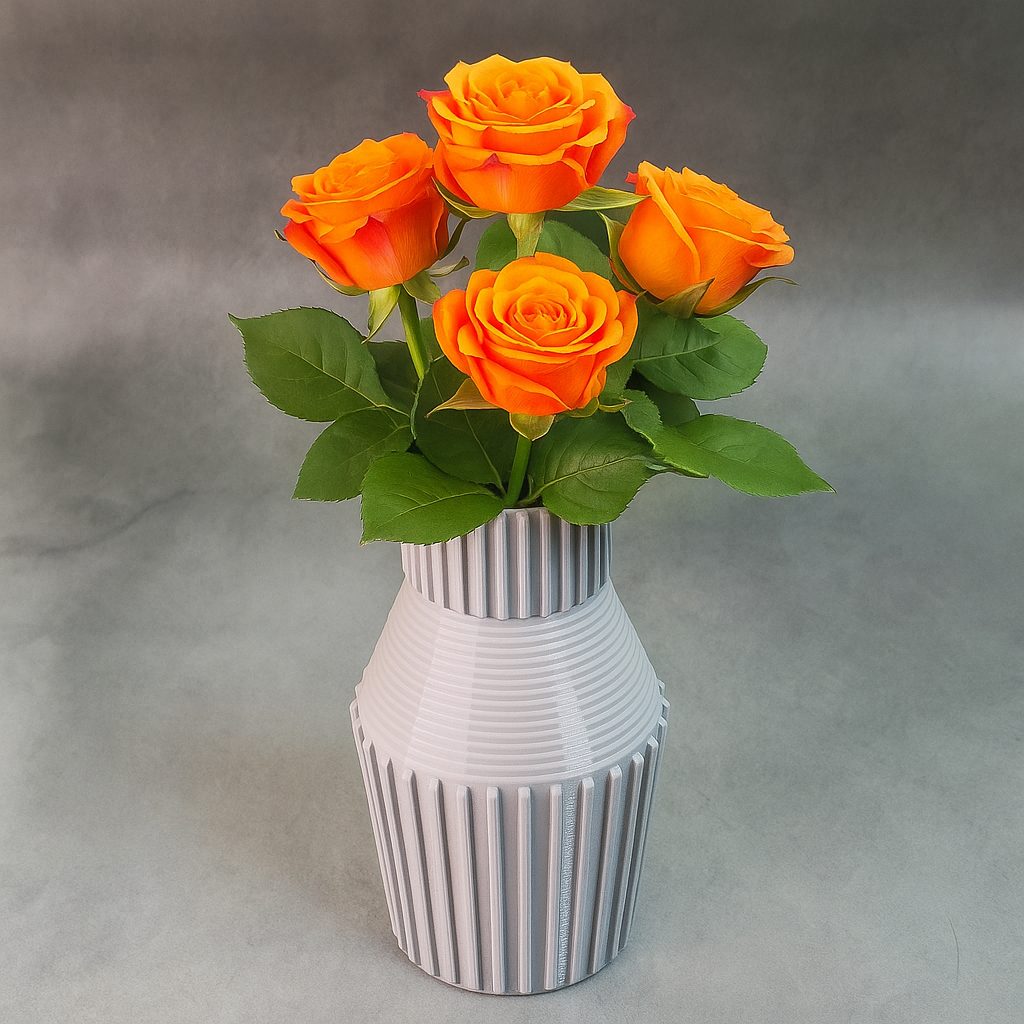
Tall ribbed vase, 200 mm. The tallest, and the one that wants ballast under a dried arrangement.
Curved white vase, 190 mm. The one glossy piece, so the natural focal point in a group.
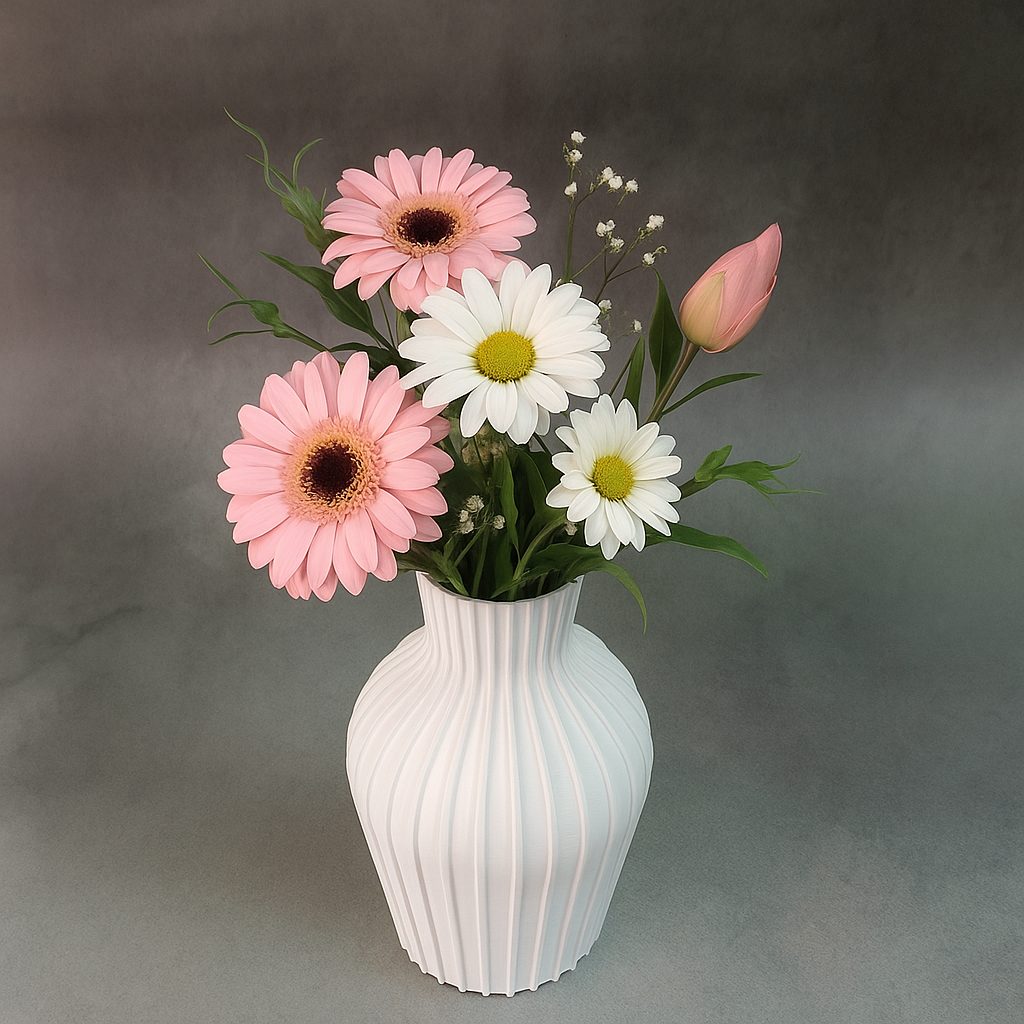
Textured modern vase, 180 mm. Soft vertical grooves over a matte white surface.
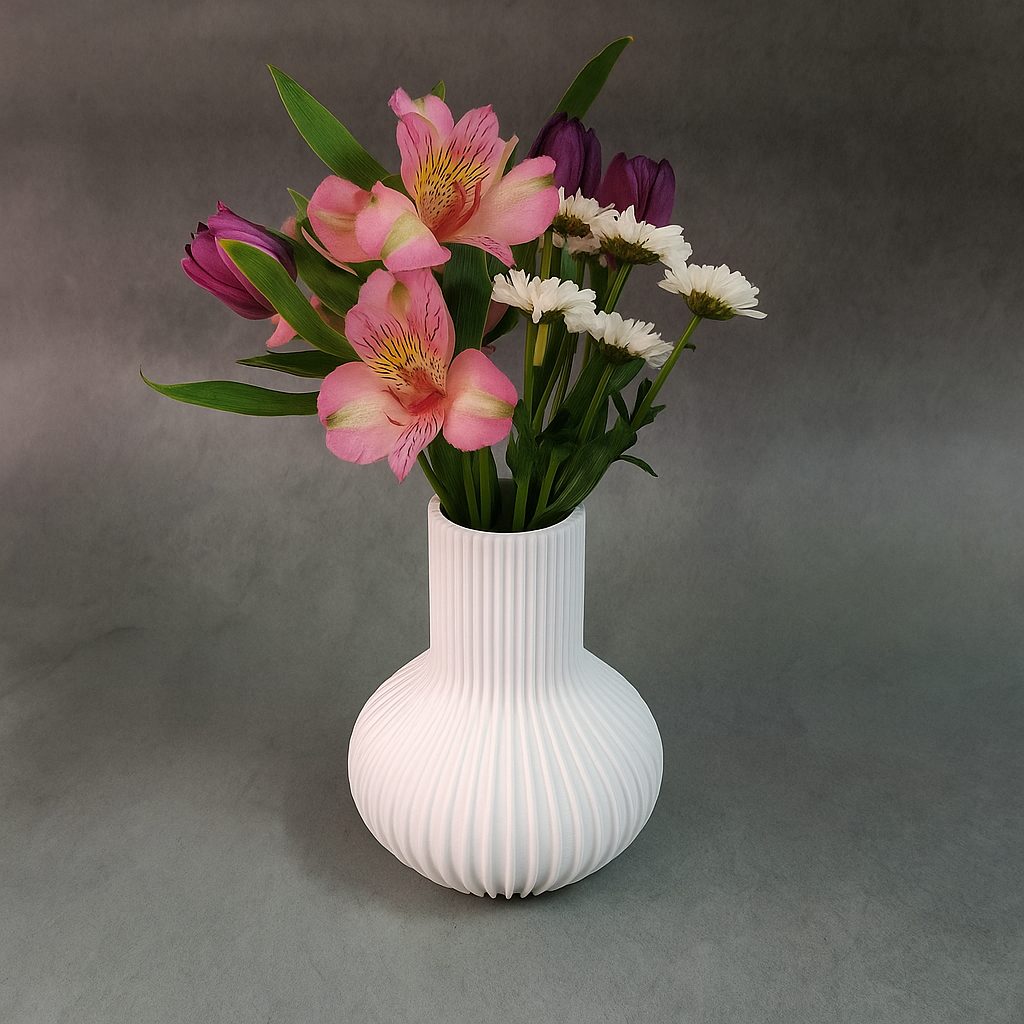
Modern ribbed cylinder, 180 mm. Regular vertical lines on a plain cylinder.
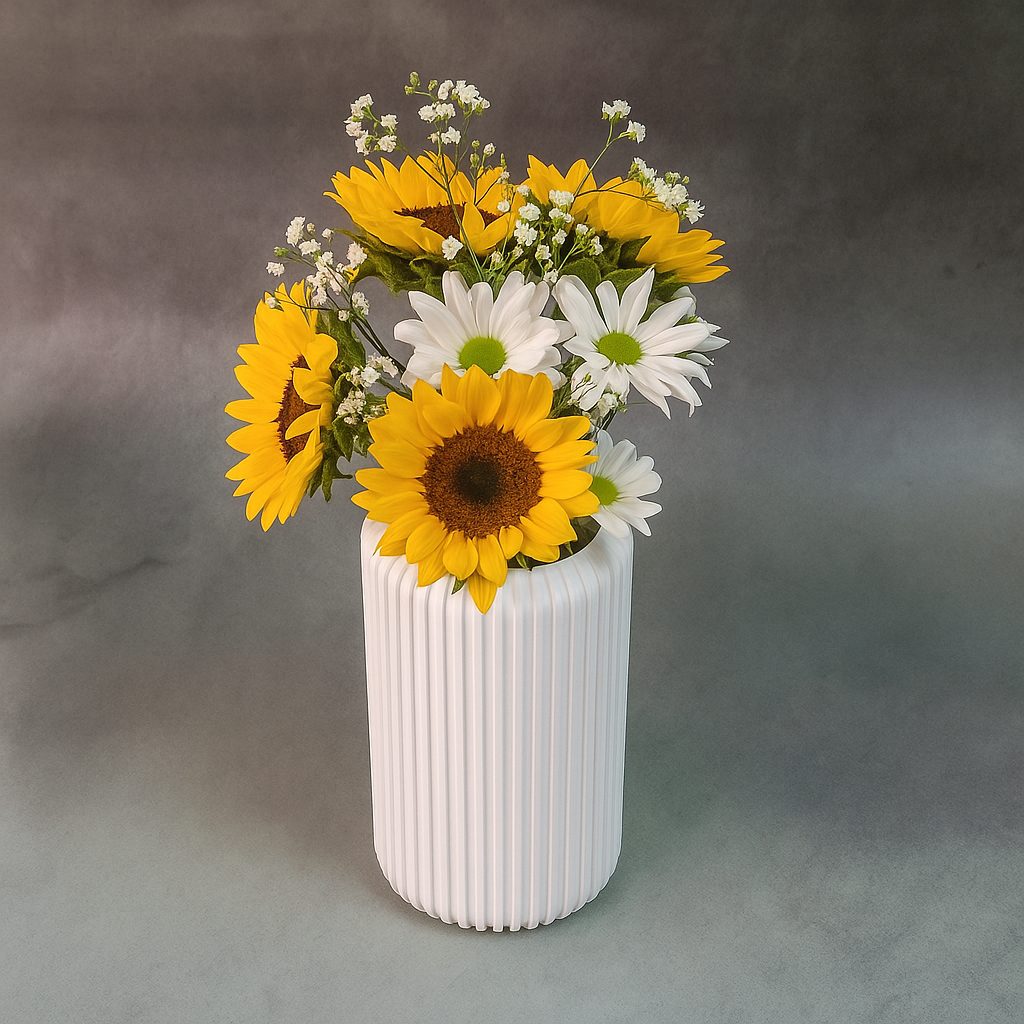
Melting candle vase, 144 mm. Scalloped rim and sagging walls, strong enough to stand alone empty.
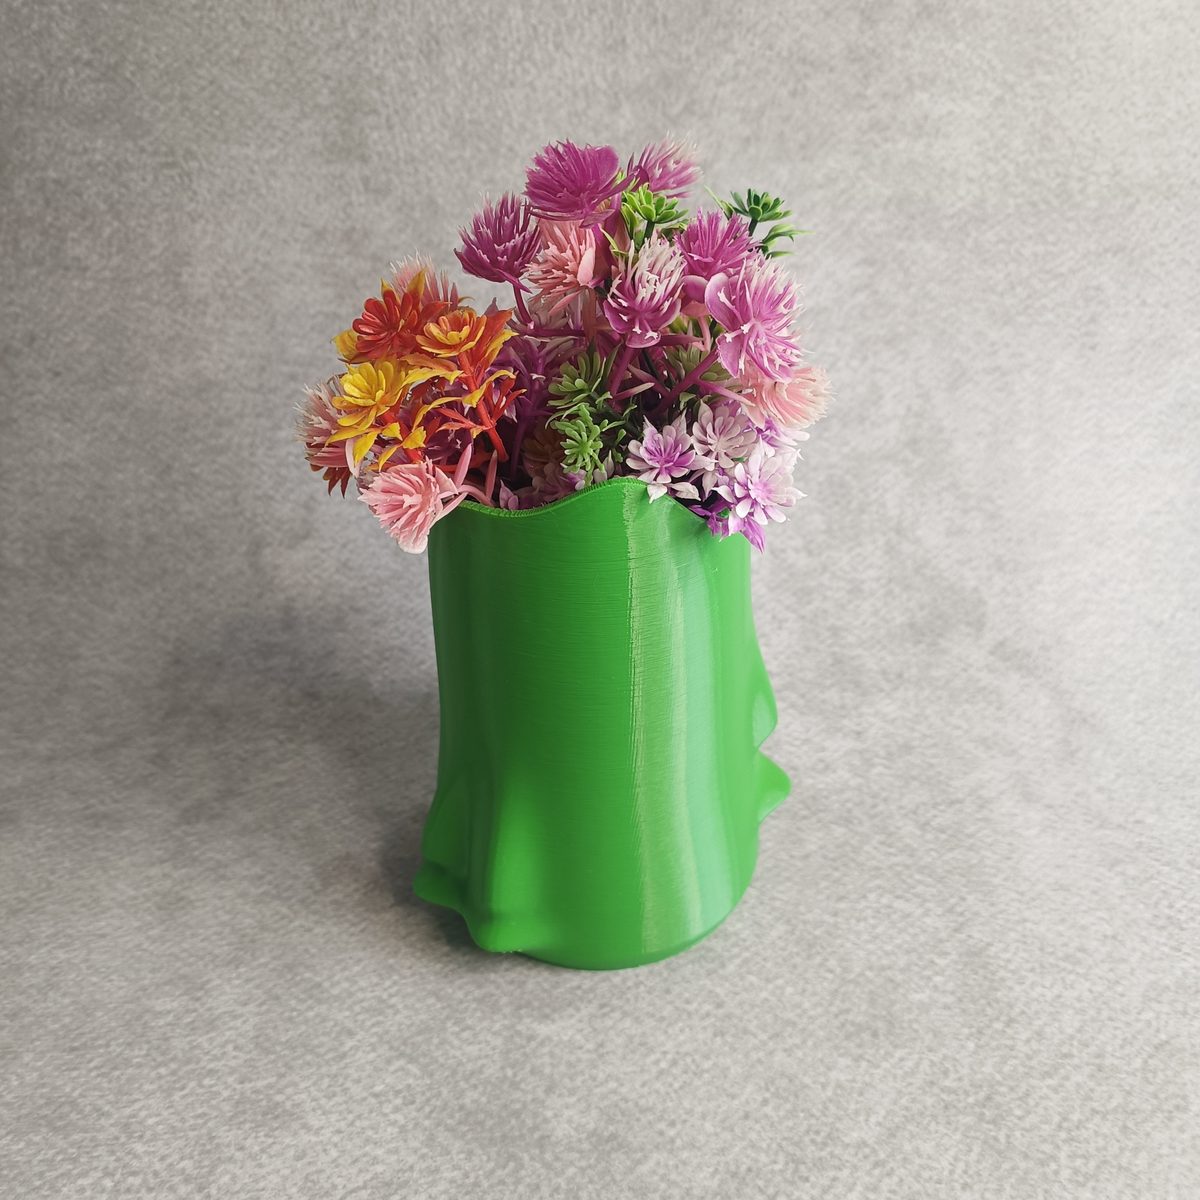
Double curve vase, 120 mm. Two curves with fine vertical ridges, stable on its own footprint.
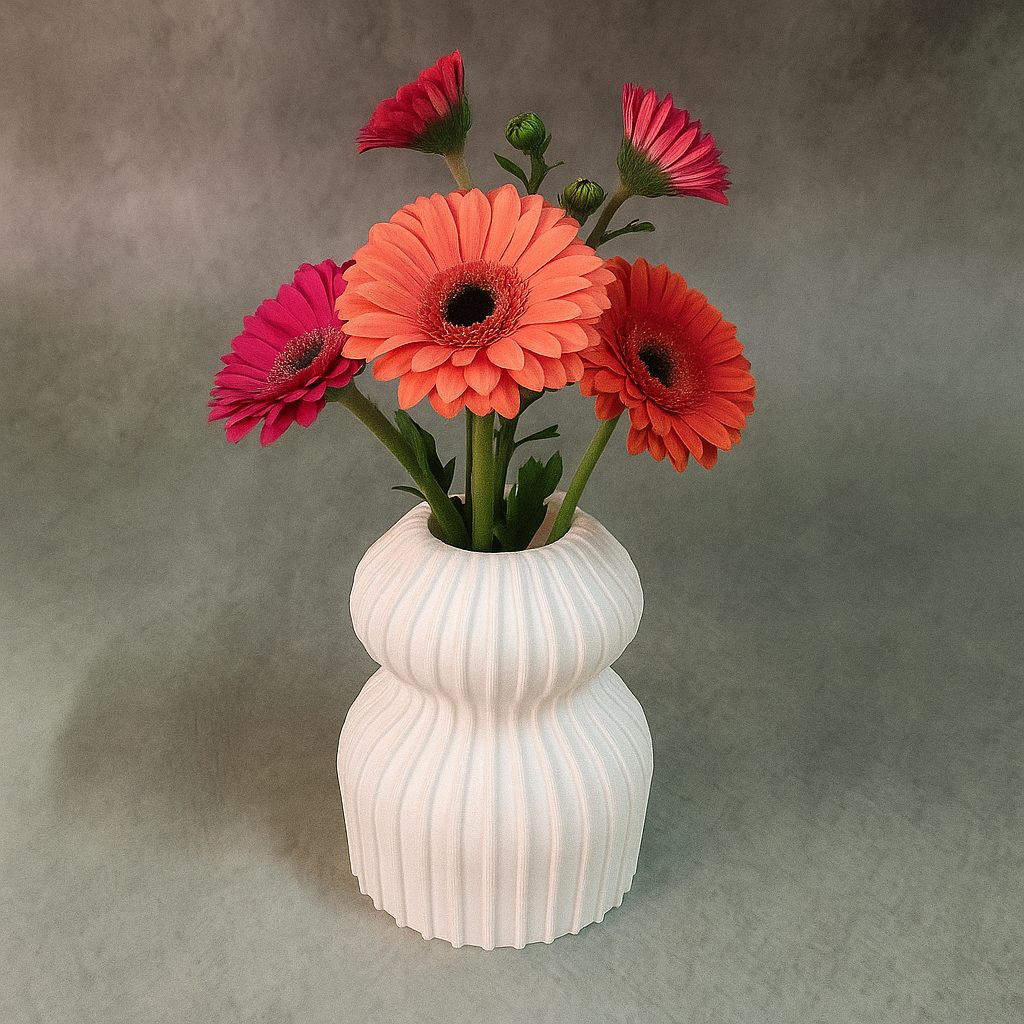
Draped bark vase, 114 mm. Deep folds and an asymmetric silhouette, the most sculptural of the set.
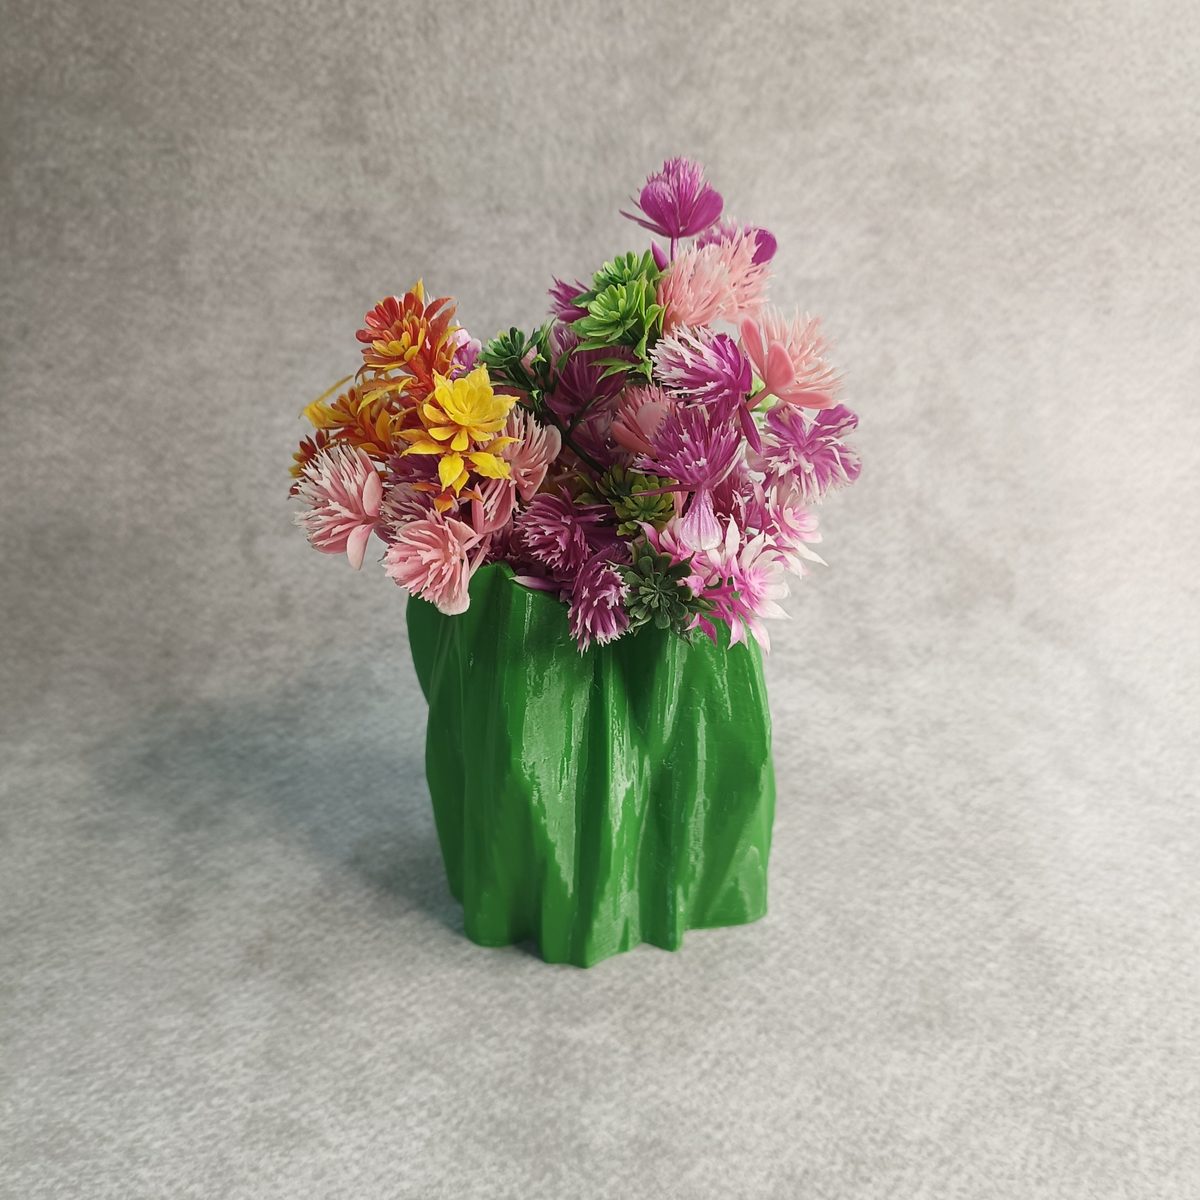
Pebble contour vase. Continuous curvature with no flat face, so it reads differently from every angle.
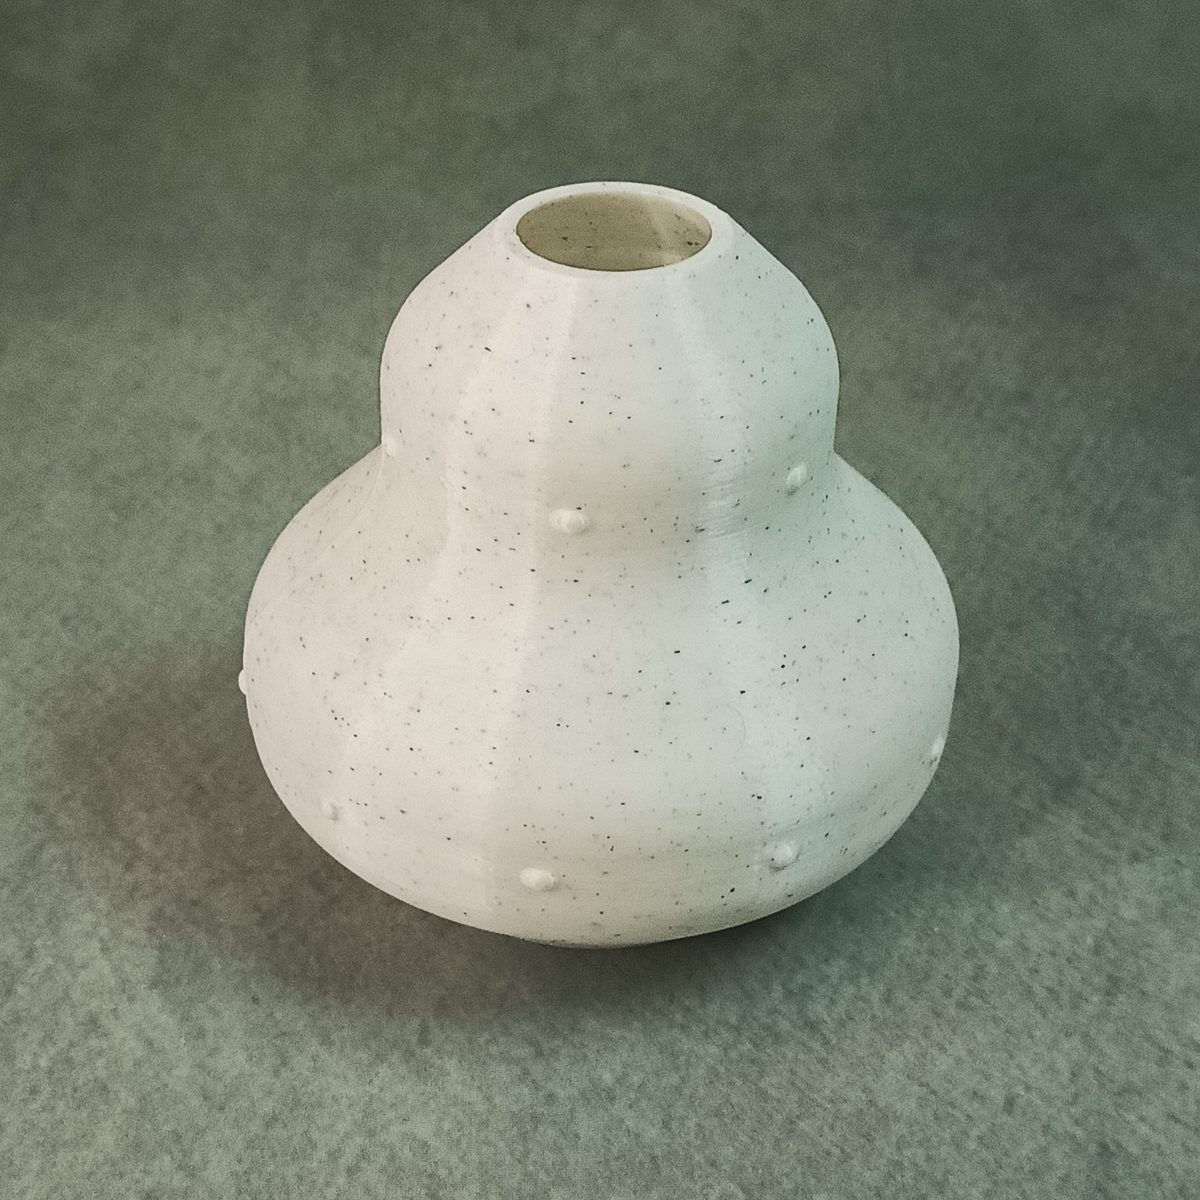
Egg vase, 70 mm. The smallest, with a narrow neck that holds short stems gathered.
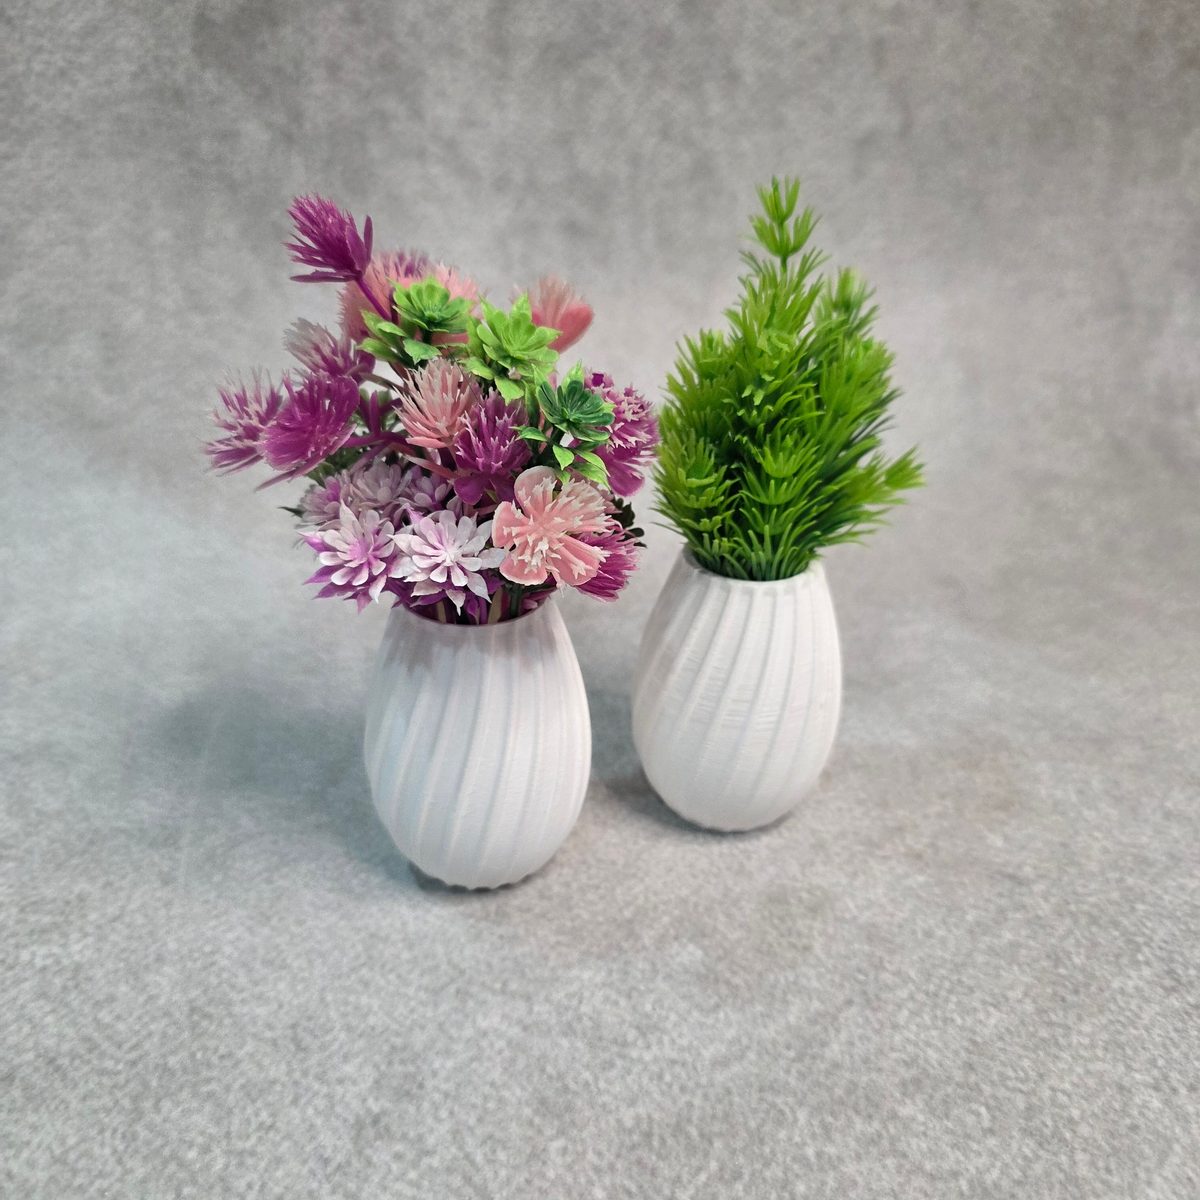
If you specifically need a vessel that holds water unaided, that is a print setup decision rather than a shopping decision, and it is worth saying so when the part is made rather than discovering it afterwards. You can specify that a piece needs to be watertight along with the model through our 3D printing service page. The rest of the decorative range sits under flower pots and gardening.
The range, and which ones hold water
Every vase here is printed the same way, so the same reasoning applies across the range. The tall pieces suit long stems and the short ones suit gathered arrangements, but none of them should be assumed sealed without asking.
The tall group runs to the 200 mm ribbed vase, the 190 mm curved white vase, the textured modern vase and the modern ribbed cylinder, all at 180 mm or above.
The shorter and more sculptural pieces are the double curve vase, the draped bark vase, the melting candle vase and the pebble contour vase, with the 70 mm egg vase as the smallest.
A glass liner solves the question for all of them, and for the narrow-necked egg vase a test tube is the neatest fit.
If you want soil rather than water
The watertightness question disappears entirely if the vessel is holding a plant rather than a vase of water, because a planter is supposed to let water out, and the soil is not at risk from the material.
The pot range, plain cylindrical, stacked rings, coiled cylindrical, vertical spiral, vertical groove, ribbed marble texture, layered ridge, double rim tapered, stacked geometric, is built for exactly that, and each wants a 15 cm base plate or ripple plate underneath to catch what drains through.
The short answer
A printed vase is not waterproof by default, but it is not far off either. Printed in vase mode in PETG, most hold water with no treatment at all. Printed conventionally, the Z-seam is where it will leak, and a run of thin superglue or a couple of coats of clear acrylic usually settles it.
For a vase bought as decor, the liner is the answer that takes thirty seconds and never fails.